
What is red velvet?
Red velvet cake is a southern tradition. The cake typically had a velvety texture and was a light and smooth crumb.
In the early 1900s, the color red would come from a reaction to cocoa powder and vinegar, giving the cake a reddish/brownish hue. Later, beetroot juice and then red food coloring were used, making the cake vibrant red.
Originally the cake was frosted with ermine frosting which is made with a cooked flour roux. Now, it's much more likely to find red velvet cake paired with a traditional cream cheese frosting.
Ingredient Highlights
Red velvet cake typically has 3 key ingredients.
- Cocoa Powder-Red velvet is not a chocolate cake. It typically has a few tablespoons of cooca, giving it a very light chocolate taste. This recipe has ¼ cup of unsweetened cocoa powder.
- Buttermilk- Buttermilk imparts a tangy flavor and reacts with the vinegar and acidity in the cocoa and baking soda to provide lift and texture.
- Vinegar- Another acid, like buttermilk, vinegar reacts with the cocoa and baking soda.
I include a little sour cream for a bit more structure in the cake due to the cheesecake layer. Oil is also often used in red velvet cakes for the great moisture it adds to the cake.
How to prepare a bundt pan to prevent sticking
One of the only tricky parts of making a bundt cake has to do with getting it out of the pan in one piece. There are many different ways people have to keep the bundt from sticking, but I've found a way that works every time and it's easy!
Use a baking spray that has flour added to it and spray the entire pan evenly with the spray. Use a pastry brush to brush the spray into any nooks or crannies that it didn't make it into.
You also want to make sure that you don't spray so much that the spray pools at the bottom of the pan. Make sure you are rotating the pan or moving the can of baking spray as you are spraying so that you get good coverage without using too much.
If you don't have baking spray, you can use regular butter and flour to prepare the pan. Ideally, melt the butter and use a pastry brush to brush it into all the different edges of the pan before coating everything in butter.
The other key part to getting the bundt out of the pan without sticking is the right timing. Let the bundt cool in the pan for 15-20 minutes before attempting to invert it. Any longer than 15-20 minutes of cooling time can cause the sugars in the cake to stick to the side of the pan resulting in the dreaded broken bundt.
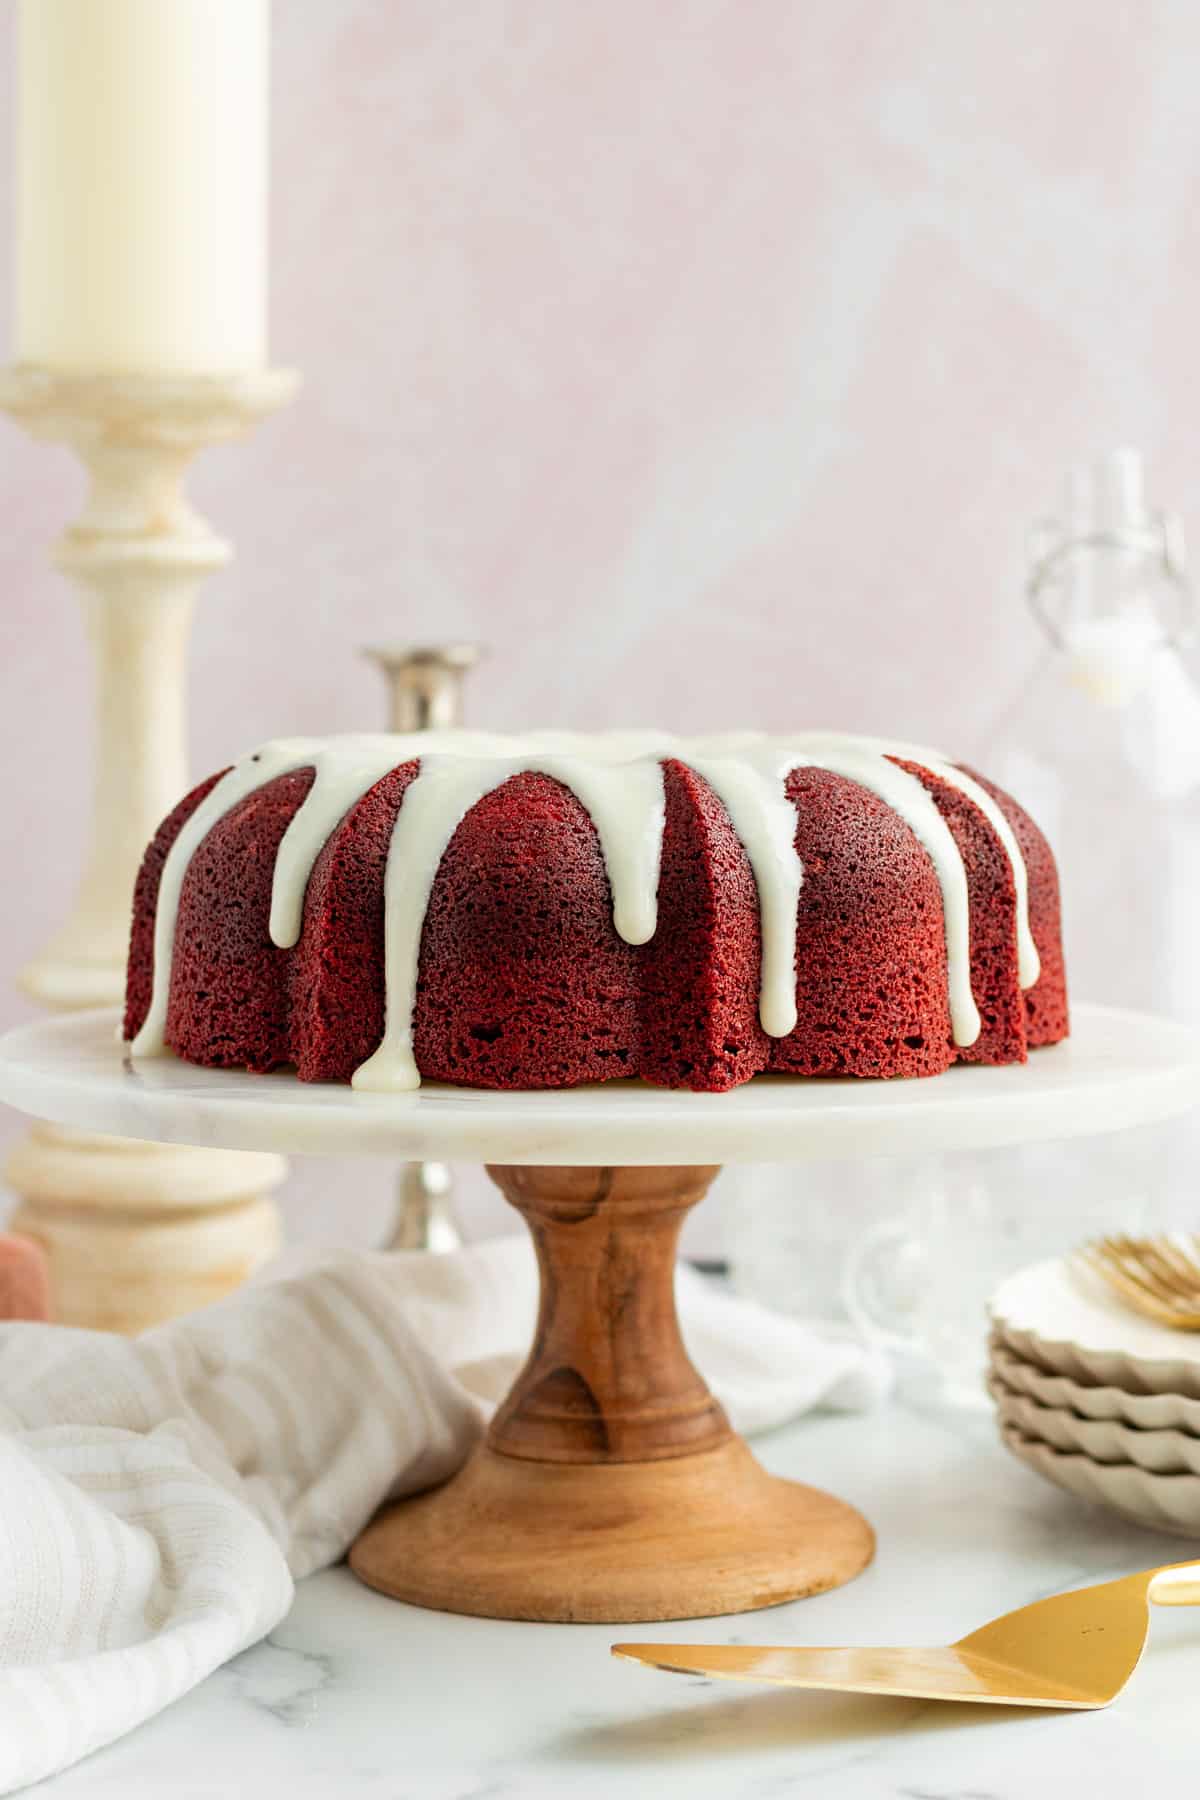
When you are ready to invert the red velvet bundt cake from the pan, choose your serving platter so that it is flat and slightly larger than the top of the bundt pan. Place the serving platter on top of the bundt pan and with one hand on the platter and one on the pan, flip the cake upside down while holding the platter tightly to the pan.
The bundt should release from the pan in one piece. If it doesn't release from the pan, flip it back over and wait for another five minutes for it to cool. Try again and tap the top of the pan with the back of a wooden spoon to help it release if it still doesn't release on its own.
Tips for a perfect bundt cake
This is a super easy gingerbread bundt cake. It starts with the typical method of creaming butter and sugar together, but as with any baking project, there are always a few things to keep in mind for the best results.
- Measure the flour correctly- Cakes are dry with too much flour. To avoid that, use the spoon and level technique to measure the flour. Use a spoon to scoop flour into your measuring cup until it's overflowing. Then, use the back of a knife to level off the flour. Don't scoop your measuring cup into the flour and level as you will end up with too much flour. You can also weigh the flour using a food scale. You need 320 grams of flour.
- Don't overmix the batter- This is one tip that applies to most baking recipes. Overmixing the batter leads to a tough crumb due to the overdevelopment of gluten. Just mix until the last flour streaks disappear.
FAQs
Yes, you can freeze the entire red velvet bundt cake. Freeze the cake without the glaze and glaze it before you serve it if possible. Wrap the cooled bundt cake in plastic wrap and then in foil. You can freeze the cake for up to a couple months. If you have already glazed it, place it in the refrigerator to harden the glaze and then wrap and freeze it. To thaw the cake, simply place it in the refrigerator overnight or on the counter for a few hours.
No, you need natural cocoa powder in this red velvet bundt cake due to the higher acidity level compared to dutch processed cocoa.
If you don't have buttermilk on hand, you can create your own buttermilk with milk (ideally full fat) and distilled white vinegar. For this recipe, measure 1 ½ teaspoons of vinegar into a ½ cup measuring cup and then pour milk in until it measures ½ cup. Let it sit for 5-10 minutes until it begins to curdle and then use that as your buttermilk substitute.
You can either omit the sour cream and use a full cup of buttermilk or buttermilk substitute or you can sub the sour cream for full fat plain greek yogurt.
Liquid food coloring is your best bet for red velvet cake. I typically buy the red food coloring sold in its own box in the 1 oz size. Use that if you can or measure out 2 tablespoons of red food coloring. If you only have gel food color, you will have to play with how much to add as I haven't tested it before.
How to store the cake
Because of the cheesecake filling and cream cheese frosting, this red velvet bundt cake is best stored in the refrigerator. Cover it with plastic wrap or foil, tenting it as needed to try to stay away from the glaze.
If you've cut into it already, place a piece of wax paper against the cut edges to keep it from drying out. I use this cake carrier all the time to store my cakes either in the refrigerator or at room temperature. It has a handle that makes it great for transporting cakes too.
For more cake recipes, check out:
- Cranberry Orange Bundt Cake
- Chocolate Loaf Cake with Pomegranate Glaze
- Chocolate Brownie Cake
- Chai Cake with Chai Cream Cheese Frosting
Tag me on Instagram @themarblekitchenblog if you make this and leave a star rating and comment below! Thank you and enjoy!
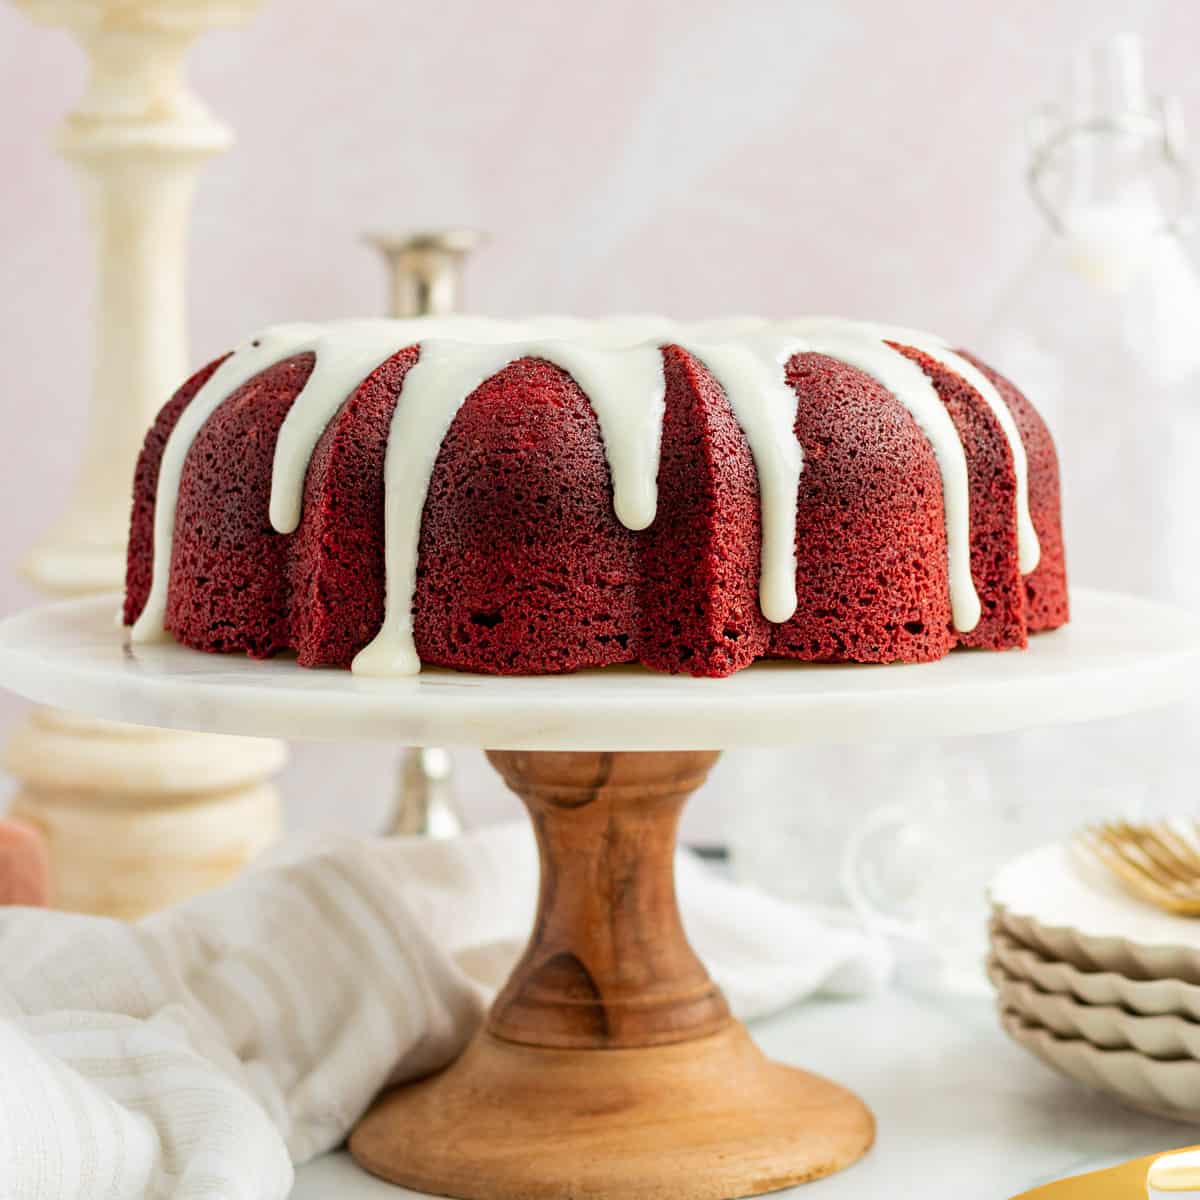
Red Velvet Bundt Cake with Cheesecake Filling
Ingredients
Cheesecake Filling
- 8 oz cream cheese room temperature
- ½ cup granulated sugar
- 1 large egg
- 1 tablespoon flour
- 1 teaspoon vanilla extract
Red Velvet Bundt Cake
- 2 ½ cups (320 grams) all-purpose flour
- 1 teaspoon baking soda
- 1 teaspoon salt
- ¼ cup unsweetened cocoa powder
- ½ cup unsalted butter room temperature
- 1 ½ cups granulated sugar
- ¾ cup vegetable oil
- 3 large eggs room temperature
- ½ cup buttermilk
- ½ cup sour cream
- 2 teaspoons pure vanilla extract
- 1 teaspoon white vinegar
- 1 oz (2 tbsp) red food coloring
Cream Cheese Glaze
- 1 ½ cups powdered sugar
- 4 oz cream cheese room temperature
- 1 teaspoon vanilla extract
- 3 tablespoons milk
Instructions
Cheesecake Filling
- Beat the cream cheese and sugar in a medium bowl until smooth. Add the egg and vanilla and beat well. Add the flour until combined and set aside.
Red Velvet Bundt Cake
- Preheat the oven to 350 degrees. Prepare a 10-12 cup bundt pan with baking spray (flour + oil spray) or coat the pan in melted butter using a pastry brush and flour, shaking off the excess and making sure you don’t miss any areas.
- Combine flour, baking soda, salt and cocoa powder in a medium bowl.
- In a large bowl, beat together the butter and sugar until light and fluffy, about 2-3 minutes.
- Mix in the oil and then the eggs, one at a time until mixed well.
- Combine the buttermilk, sour cream, vanilla and vinegar in another bowl.
- Add half of the dry ingredients, mixing until the flour is incorporated. Then add half of the wet ingredients and repeat with both, without over mixing.
- Add the red food coloring and mix until combined.
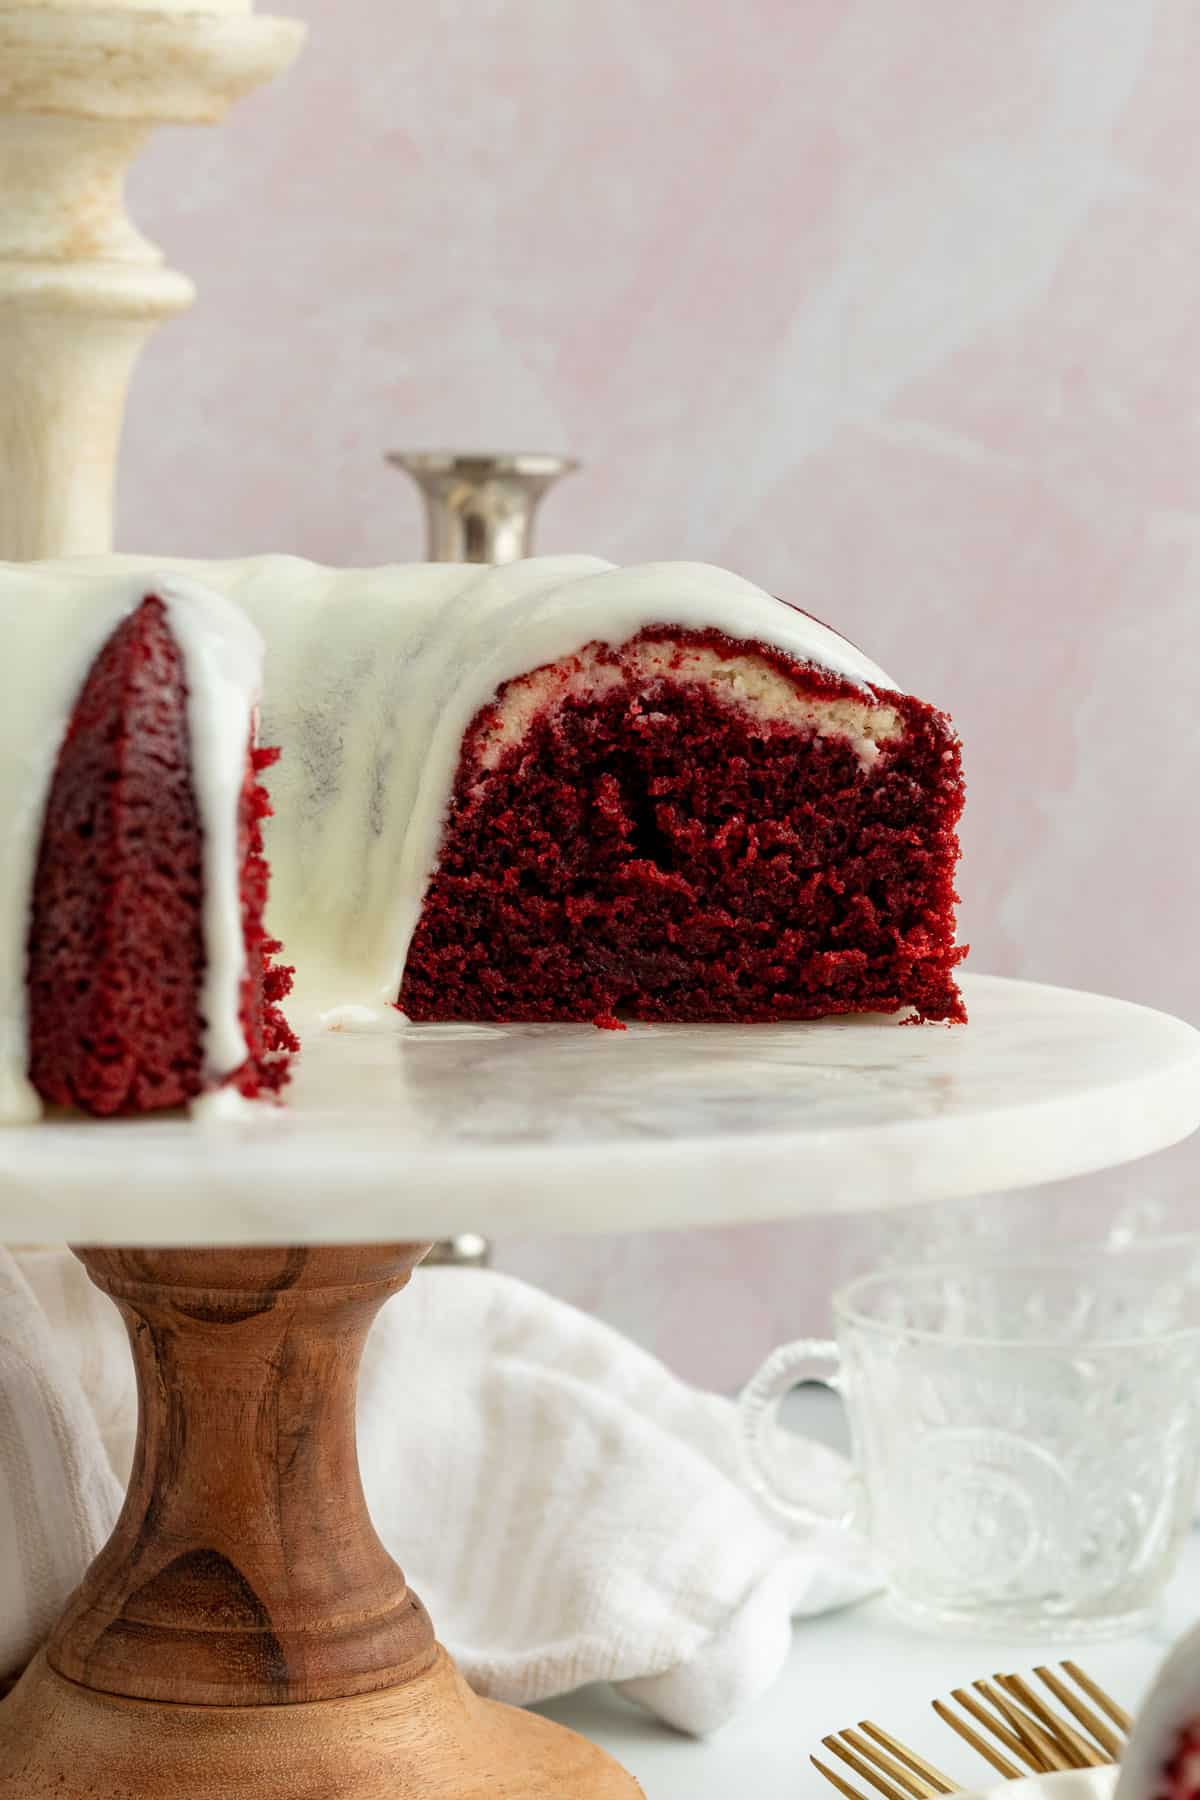
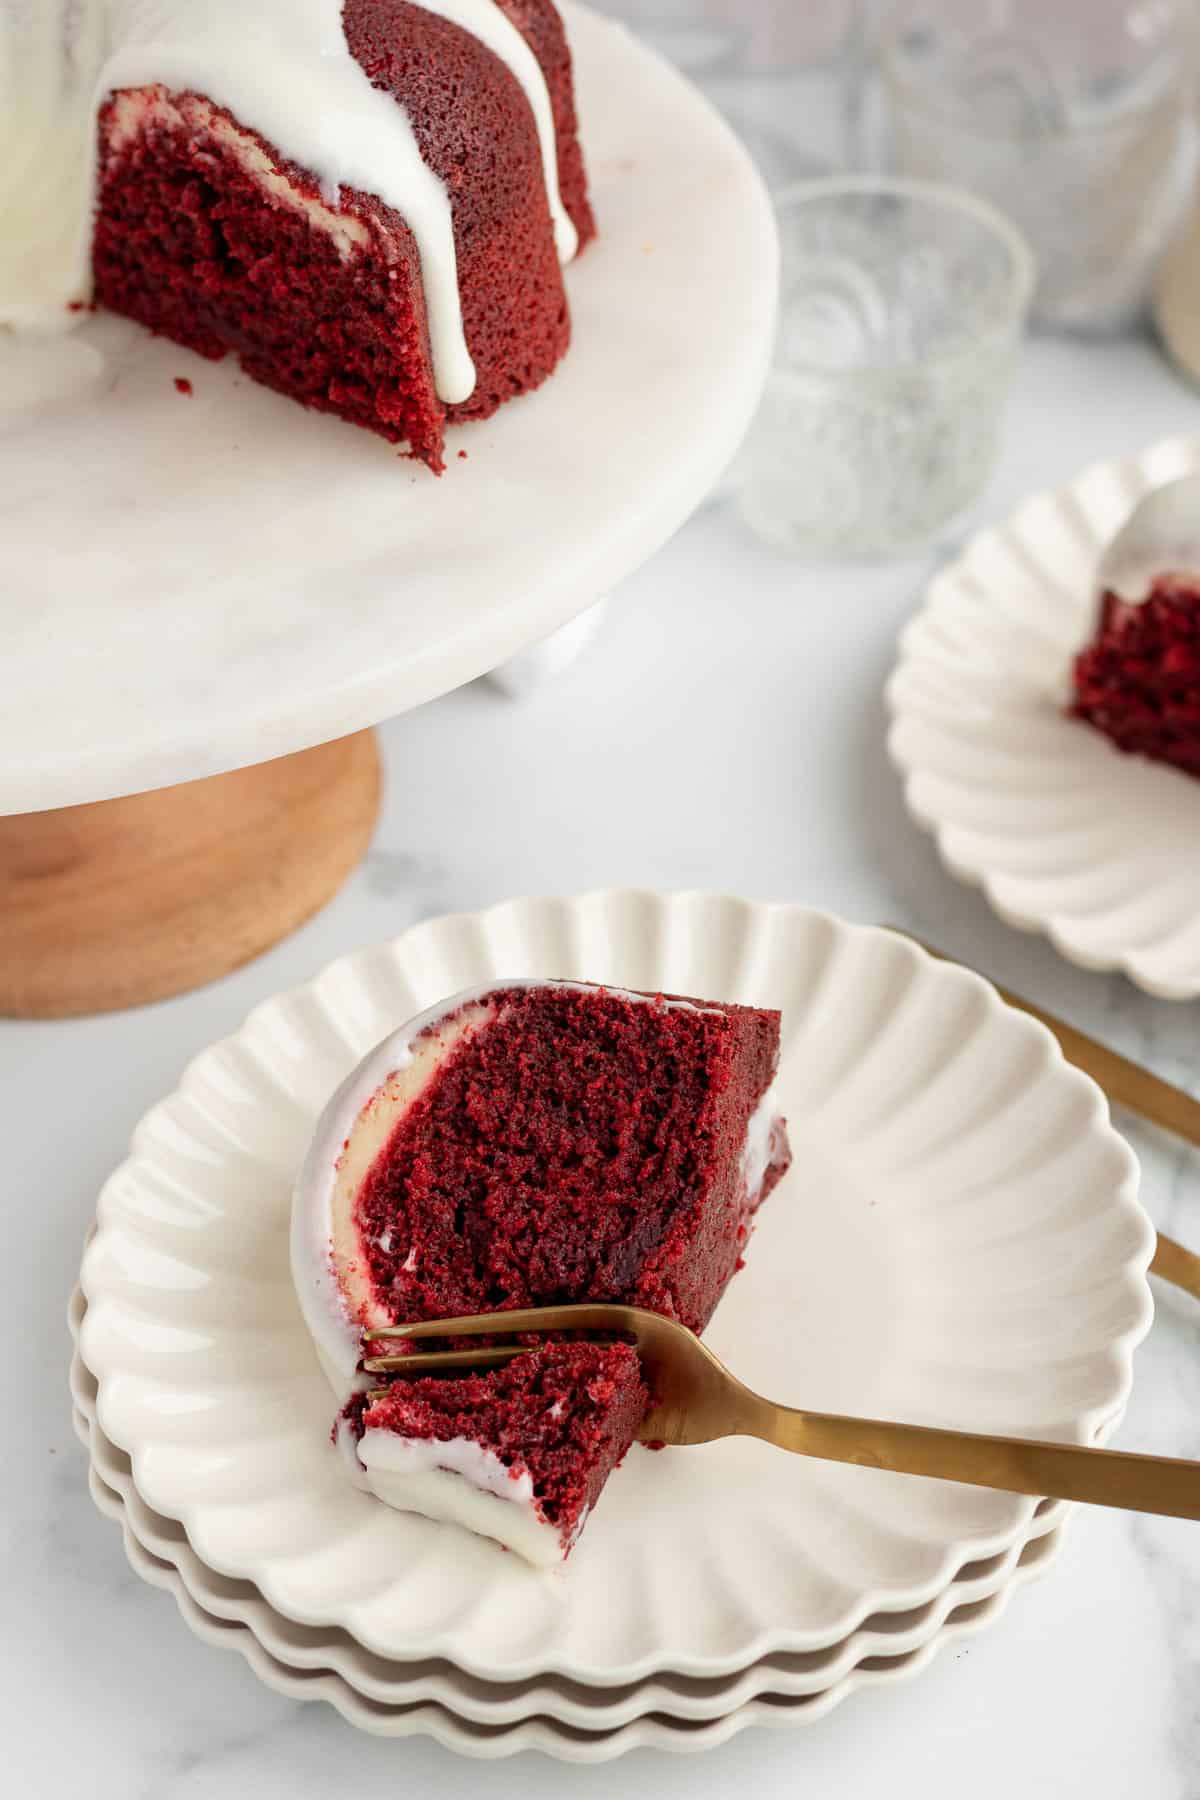
- Pour about ⅔ of the batter into the prepared bundt pan, smoothing the top. Spoon the cheesecake filling into the center of the batter, leaving a border on each side so it doesn't touch the edges. (see picture in post). Top with the remaining cake batter and smooth the top.
- Bake for 45-55 minutes. Start checking at 45 minutes with a cake tester or toothpick. Mine was done at 49 minutes.
- Allow the cake to cool in the pan for 15-20 minutes and then turn it out onto a serving platter. Don't let it cool for longer as it may stick in the pan. Allow it to cool completely before glazing the bundt cake.
Cream Cheese Glaze
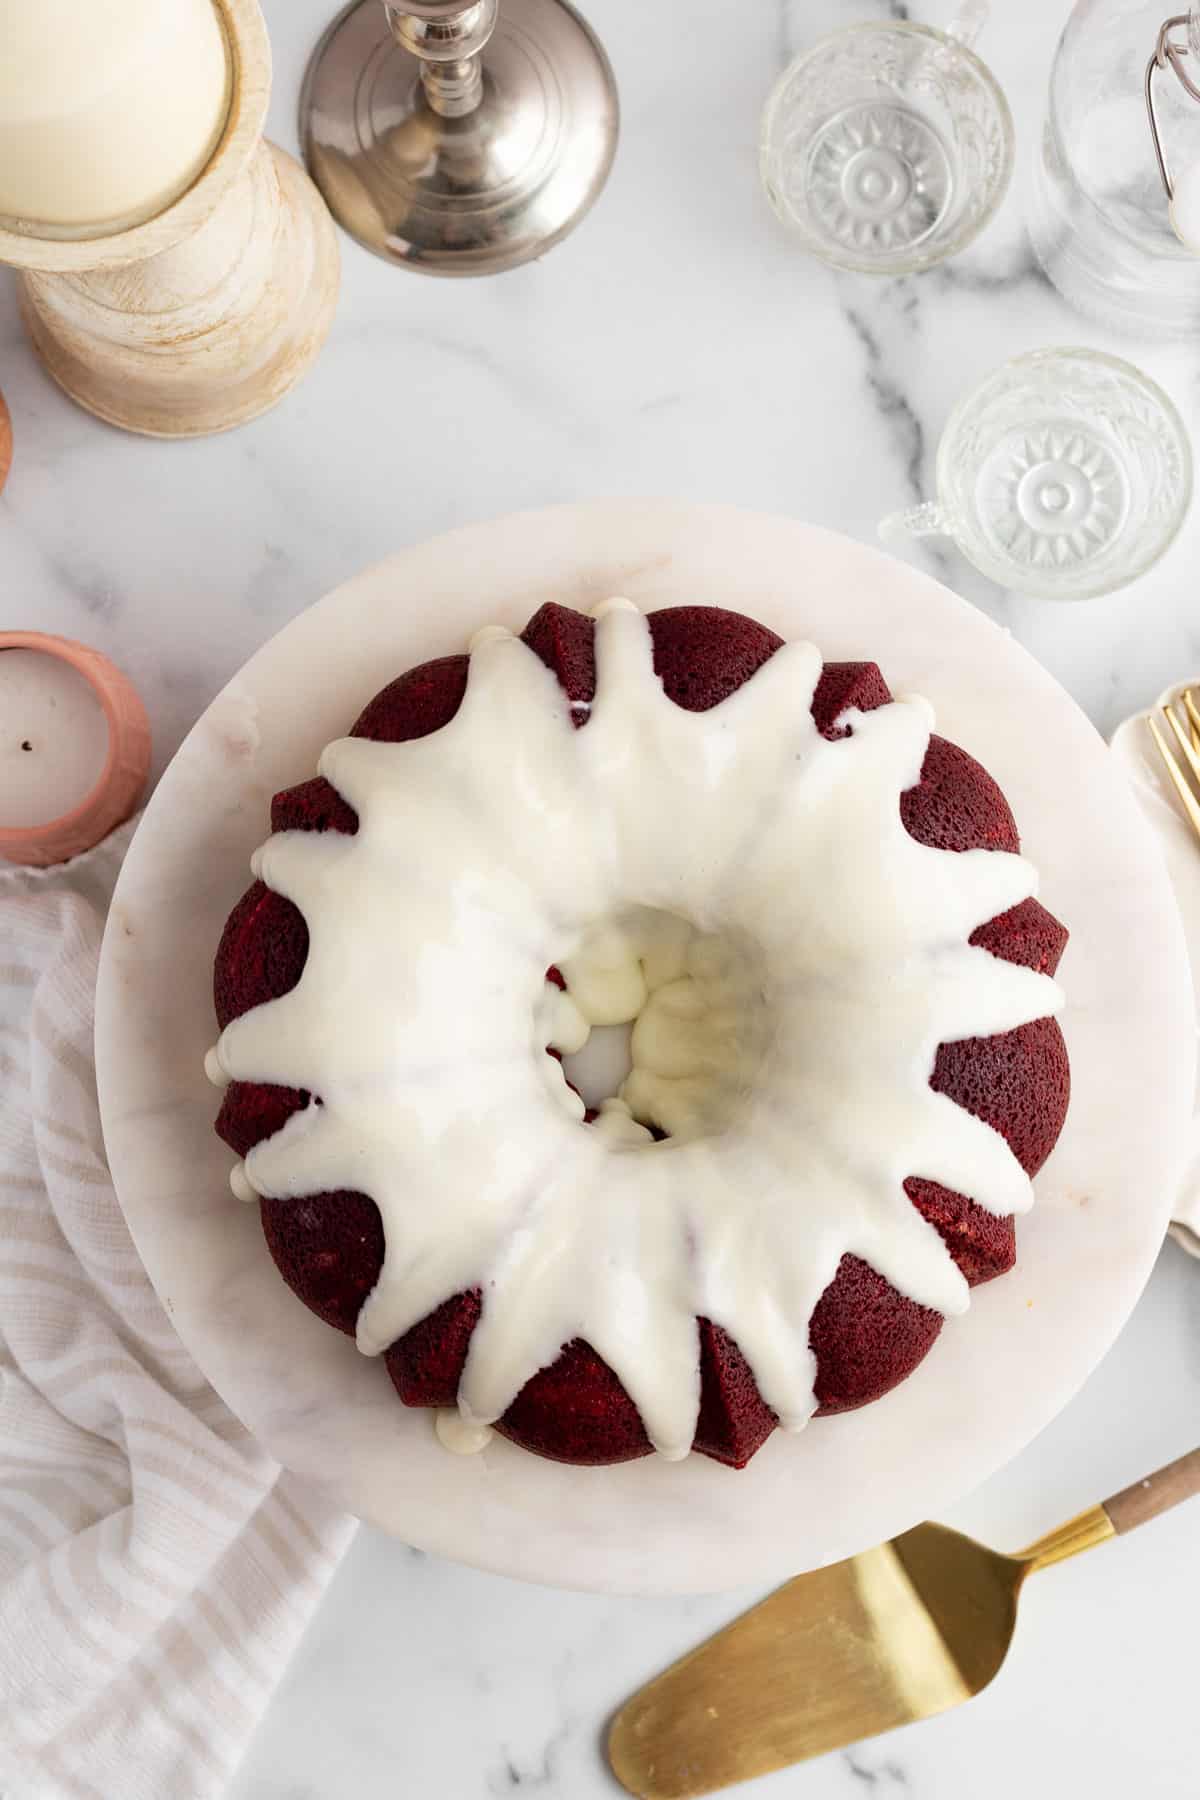
- Beat the powdered sugar and cream cheese in a small bowl until smooth. Add the vanilla extract and 3 tablespoons of milk and mix well. For a thinner consistency add more milk by the tablespoon or for a thicker consistency, add more powdered sugar by the tablespoon.
Notes
- To make your own buttermilk, measure 1 ½ teaspoons of vinegar into a half cup measuring cup. Fill it the rest of the way with milk and let it sit for 5-10 minutes until curdled. Use this in place of the buttermilk.

Simi says
Temperature of preheated oven missing in the recipe
Tara Kringlen says
Thanks for catching that! It's fixed now 🙂
Simi says
👍 I thought so, baked at 350 F. The cake was delicious, moist and well crumbled. Thank you.
Tara Kringlen says
Happy to hear that!
Judith Reeves says
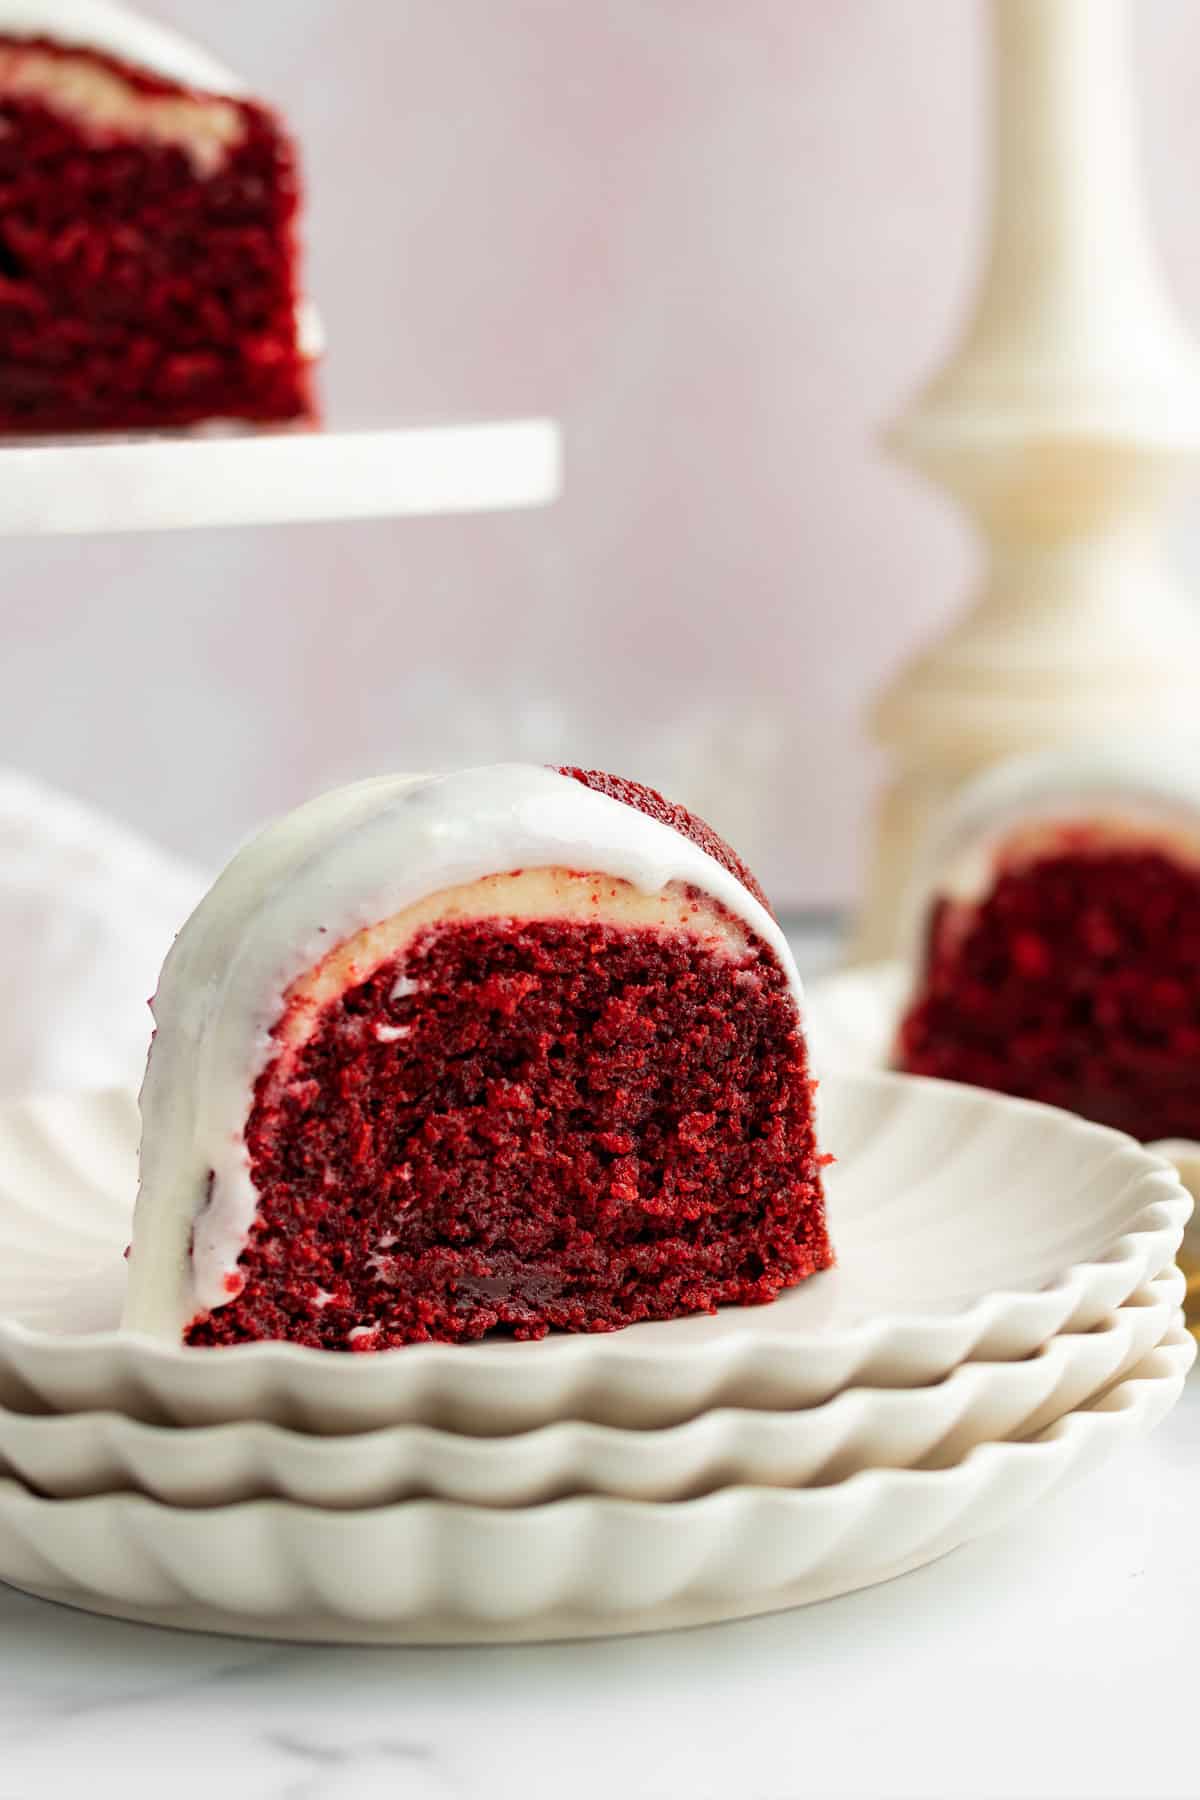
My family loved this cake. Thank you so much for sharing the recipe. The one issue I had was the cheesecake filling sinking so it ended up as a layer right near the top of the cake. Any tips on how to stop that happening?
MaryAnn Costanza says
Hi,
Should I bake this red velvet cake at 325 degrees if using a darker bundt pan?
Tara Kringlen says
I haven't baked in a dark pan but the general rule is to reduce the temp by about 25 degrees when using a dark pan due to the heat the pan absorbs.