
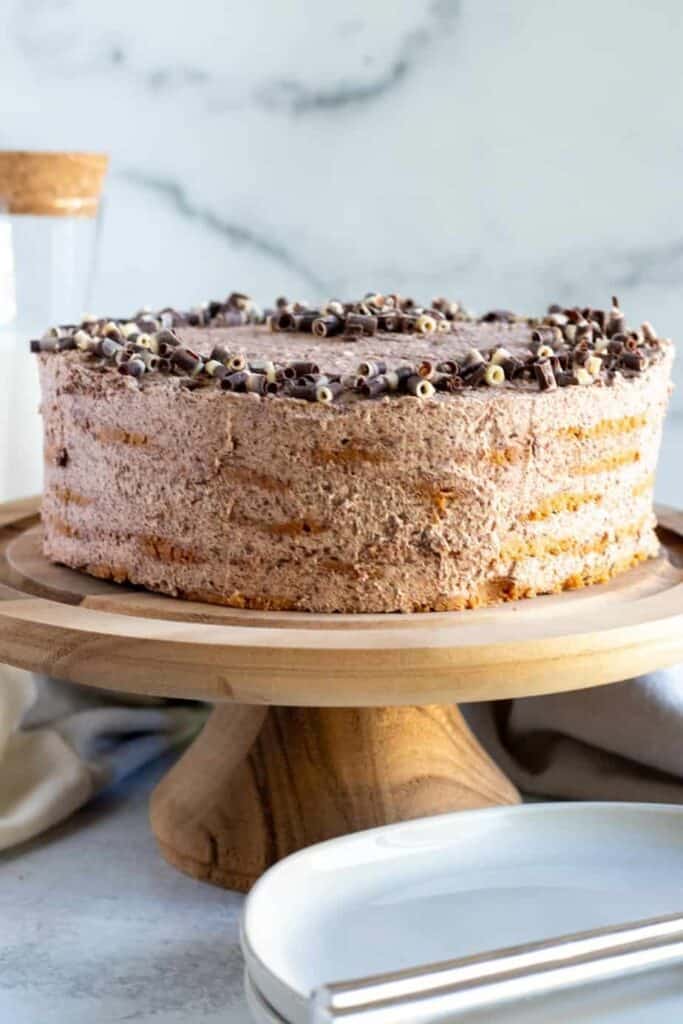
This chocolate icebox cake is a no-bake, no hassle cake made with store bought thin and crispy chocolate chip cookies and layered with a decadent mascarpone chocolate whipped cream. It doesn't get easier than this to make a showstopping layer cake!
First things first, our family grew by 1 this past week! Our sweet baby girl entered this crazy world June 12th and we couldn't be more in love. Despite the lack of sleep and older brother not too sure about sharing his world with a new baby, we are basking in the newborn cuddles and adjusting to our new family dynamic. Here's a few cute pics before we get onto this delicious chocolate icebox cake.


What is an icebox cake?
Icebox cakes became popular in the 1920s before refrigerators were a thing and people used boxes with ice in them to keep food cold. Refrigerators became more common place in the late 1920s and early 1930s but the term icebox cake stuck.
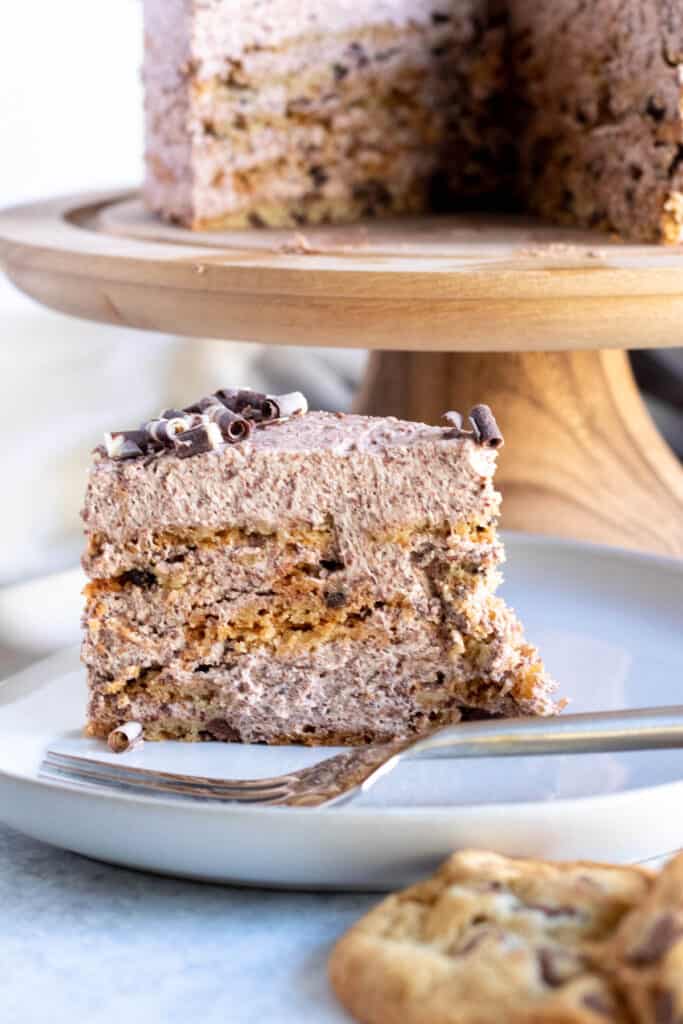
Icebox cakes were a simple and accessible cake made with very few ingredients and no oven. You simply layer thin cookies with whipped cream and then refrigerate long enough for the cream to soak into the cookies to soften them. The cake softens up and truly has a cake-like consistency when cutting into it.
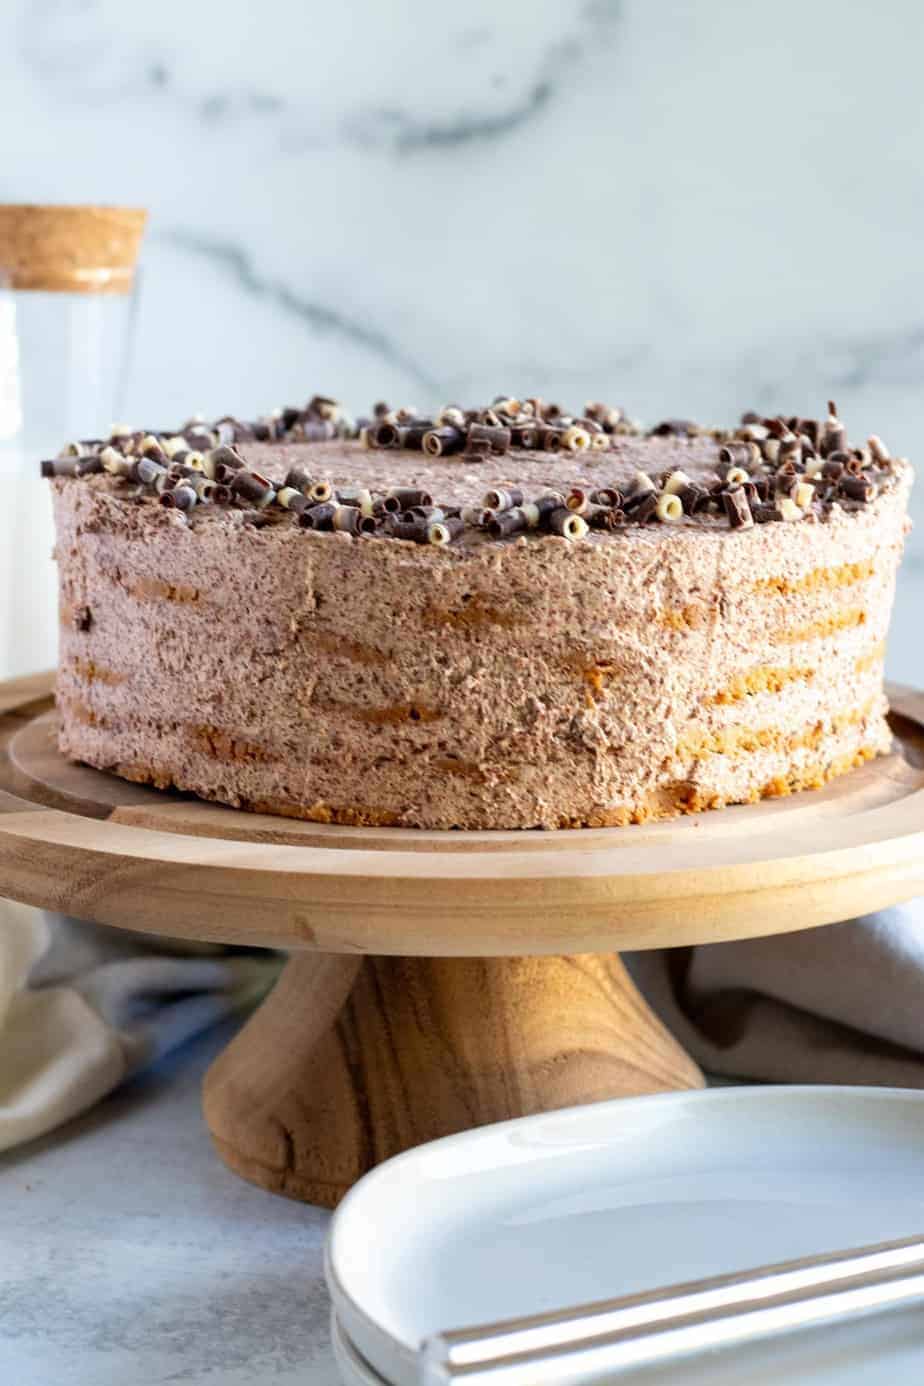
With summer upon us and 80 and 90 degree temperatures the norm, icebox cakes are the perfect solution to a delicious dessert without having to turn on the oven. We fancy up this chocolate icebox cake with the addition of mascarpone cheese for an ultra creamy chocolate cream layer between the chocolate chip cookies.
What type of pan is best to make an icebox cake?
This chocolate icebox cake utilizes an 8 inch springform pan. A springform pan is easiest for this type of cake as there will be 10 layers in total and the removable sides allow you to easily remove the cake from the pan for a stunning presentation. The pan also makes it super easy to slice the cake into individual servings.
Can I use a different pan?
I highly recommend using a springform pan but if you don't have one, you could try to use a deep cake pan that has 3 inch sides. It may be slightly more difficult to get out of the pan in neat slices but should work.
An 8 inch springform pan as called for (or 8 inch regular cake pan with 3 inch sides) will take the layers all the way to the top of the pan. If you only have a 9 inch springform or deep cake pan, you could either do 4 layers of each component (cream and cookies) for a total of 8 layers, or stick with 10 layers but have slightly thinner layers without going to the top of the pan.
Making the cake
Again, this is the simplest cake you can make! You start with the store-bought thin and crispy chocolate chip cookies (like Tate's Bake Shop cookies). You can absolutely make your own homemade cookies if you have a good thin chocolate chip cookie recipe but the key here is easy and no-bake!
Next, you whip up the chocolate mascarpone cream. Combine the heavy whipping cream, mascarpone, sugar and vanilla in a stand mixer (or use a hand mixer) and beat it until not quite stiff peaks form. Then fold cooled melted chocolate into the whipped cream mixture. As you do this, chocolate shards will form throughout the cream giving it a nice texture. I prefer it this way with speckles of chocolate through the cream but it you prefer to have solid chocolate cream, then instead of whipping the cream and mascarpone together, whip the cream, sugar and vanilla separately. Beat the mascarpone with the cooled melted chocolate and then fold the two mixtures together.
Layering the cake
You layer in the cookies on the bottom of the springform pan and break up any cookies to fit any empty spaces. The cookies don't need to look pretty so don't worry about that, but they do need to cover each entire layer.
Now the layering begins! Scoop a heaping cup of cream on top of the cookies, spreading it with a spoon or ideally an offset spatula to smooth the layer. Then repeat the layering of cookies and cream 4 more times for a total of 10 layers. Be sure to cover each cream layer with cookies completely. You will finish with a cream layer at the top.
Now all you have to do is cover it and refrigerate it overnight to allow the ingredients to meld together. That's it! No oven, no stove, no fuss!
How to remove the cake from the pan
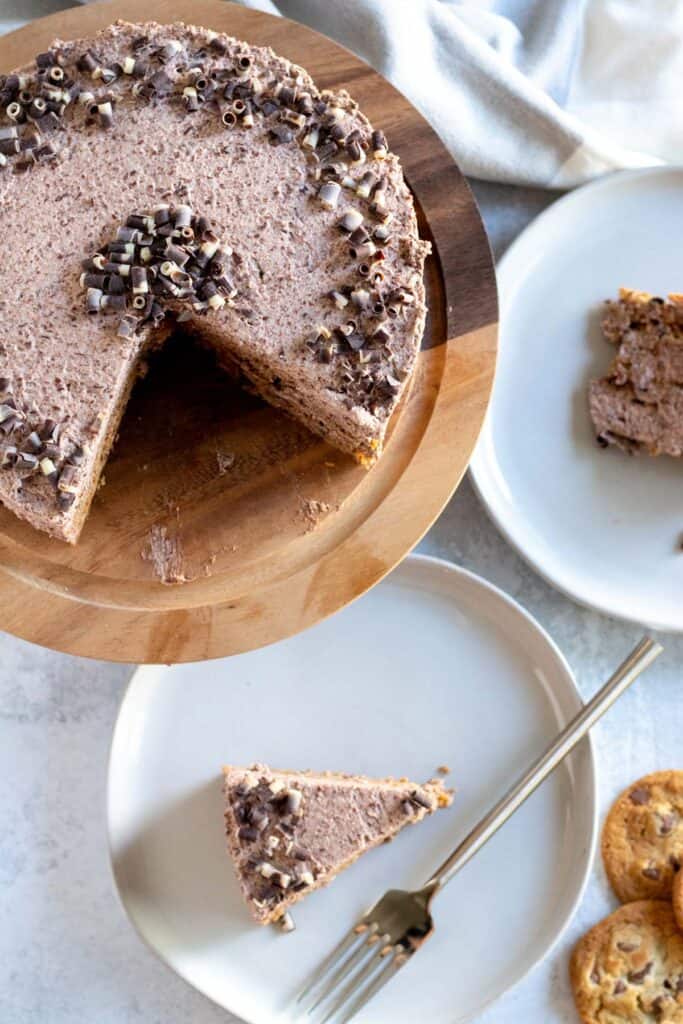
If using the springform pan, slide a sharp knife between the cake and the pan to release the edges. Then simply undo the spring and lift the cake out. I was able to slide the cake off the bottom of the springform pan but this step is not necessary and could be anxiety inducing!
How to store the cake
It's easiest to store the cake back in the springform pan. If you left the cake on the springform bottom, then carefully slide the outer ring back over the cake and lock it into place. Then you can cover the pan with foil and keep it in the refrigerator for 4-5 days (if the leftovers last that long!).
If you were a brave soul and slid the cake off the pan base and onto a cake platter, then simply try to tent foil around the cake and over the cake stand to keep it covered.
For other no-bake desserts, check out:
Tag me on Instagram @themarblekitchenblog if you make this and leave a star rating and comment below! Thank you and enjoy!
Chocolate Icebox Cake
Ingredients
- 3 7oz packages thin and crispy chocolate chip cookies
- 8 oz bittersweet chocolate
- 2 ½ cups heavy cream
- 8 oz mascarpone cheese
- ½ cup sugar
- 1 teaspoon vanilla
- Chocolate shavings for the top optional
Instructions
- Finely chop the chocolate. Place in a microwave safe bowl and microwave, 30 seconds at a time, stirring after each time until fully melted. Allow to cool at least 20 minutes.
- Using either a stand mixer or hand mixer and large bowl, combine 2 ½ cups heavy cream, mascarpone, sugar and vanilla and mix on medium speed until stiff peaks form.
- Fold in melted chocolate until fully combined. You will have chocolate shards throughout the cream mixture.
- In an 8 in springform pan, completely line the bottom with a layer of chocolate chip cookies, breaking them as needed to fit any small spaces.
- Dollop 1 cup of cream on top of the cookies and spread evenly to cover the cookies.
- Repeat the layering of cookies and cream 4 times for a total of 5 layers each of cookies and cream. You will finish with a layer of cream and the pan will be very full. If you use a 9 in springform pan, you may only have 4 layers of each instead of 5.
- Cover the pan with plastic wrap and refrigerate overnight.
- Before serving, run a knife around the edge of the pan before removing the sides of the springform pan.
- Decorate with chocolate shavings if desired and serve cold.

Leave a Reply