
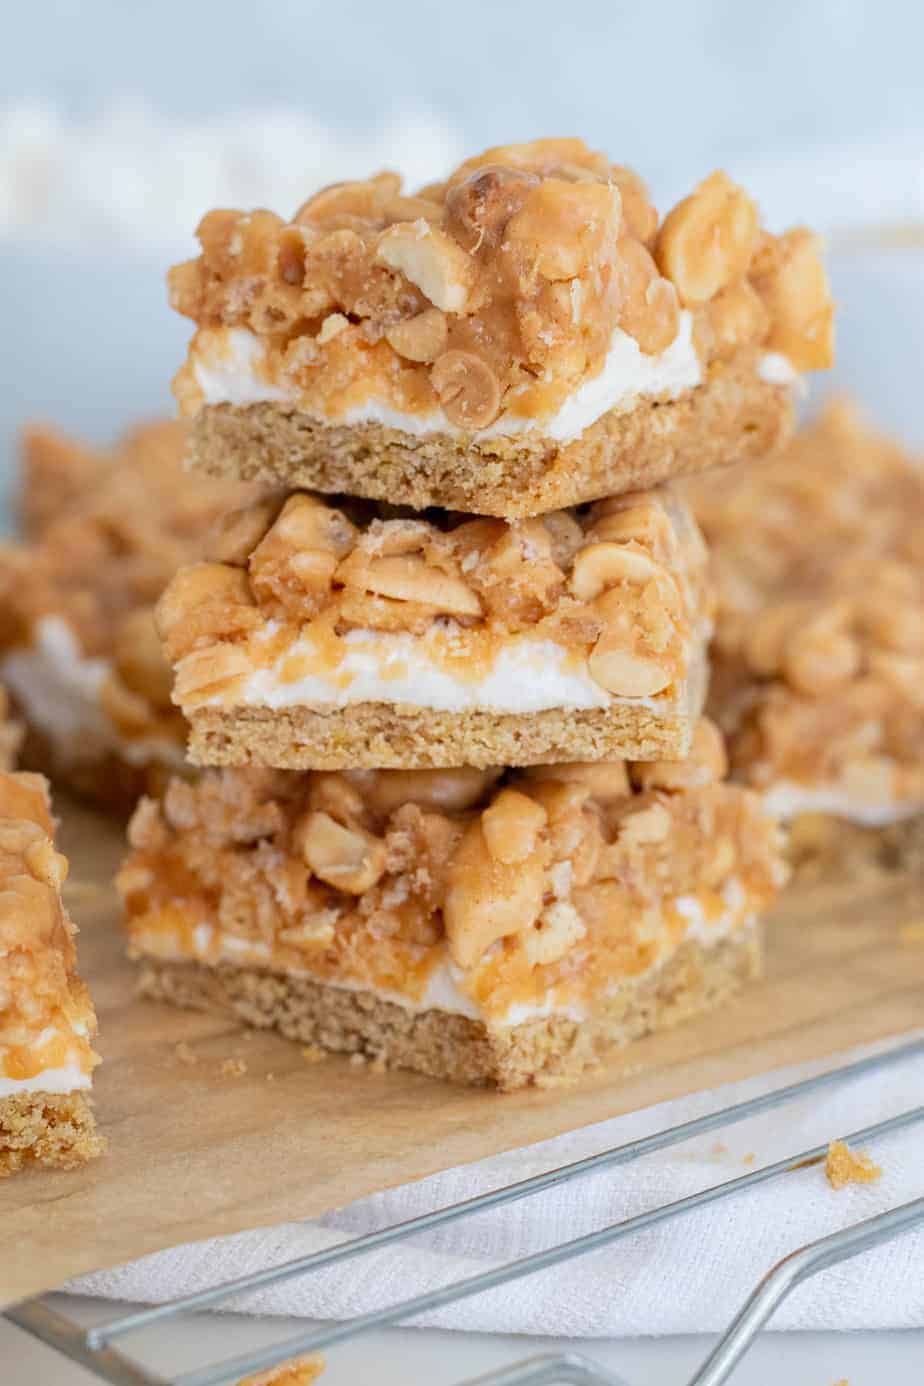
Perfect for a picnic or gathering, these easy salted peanut bars have a delicious brown sugar crust, gooey marshmallow filling and a peanut butter and salted peanut chewy topping. These are simple to make, perfectly portable and keep well in a cooler for those summer picnics!
Do you have those old family recipes that when biting into the food a flood of memories comes back to you? This is one of those recipes for me.
My grandma would make these salted peanut bars for pretty much any family gathering. They would stay in the cooler at outdoor get togethers and I remember always bugging her to bring out the peanut bars.
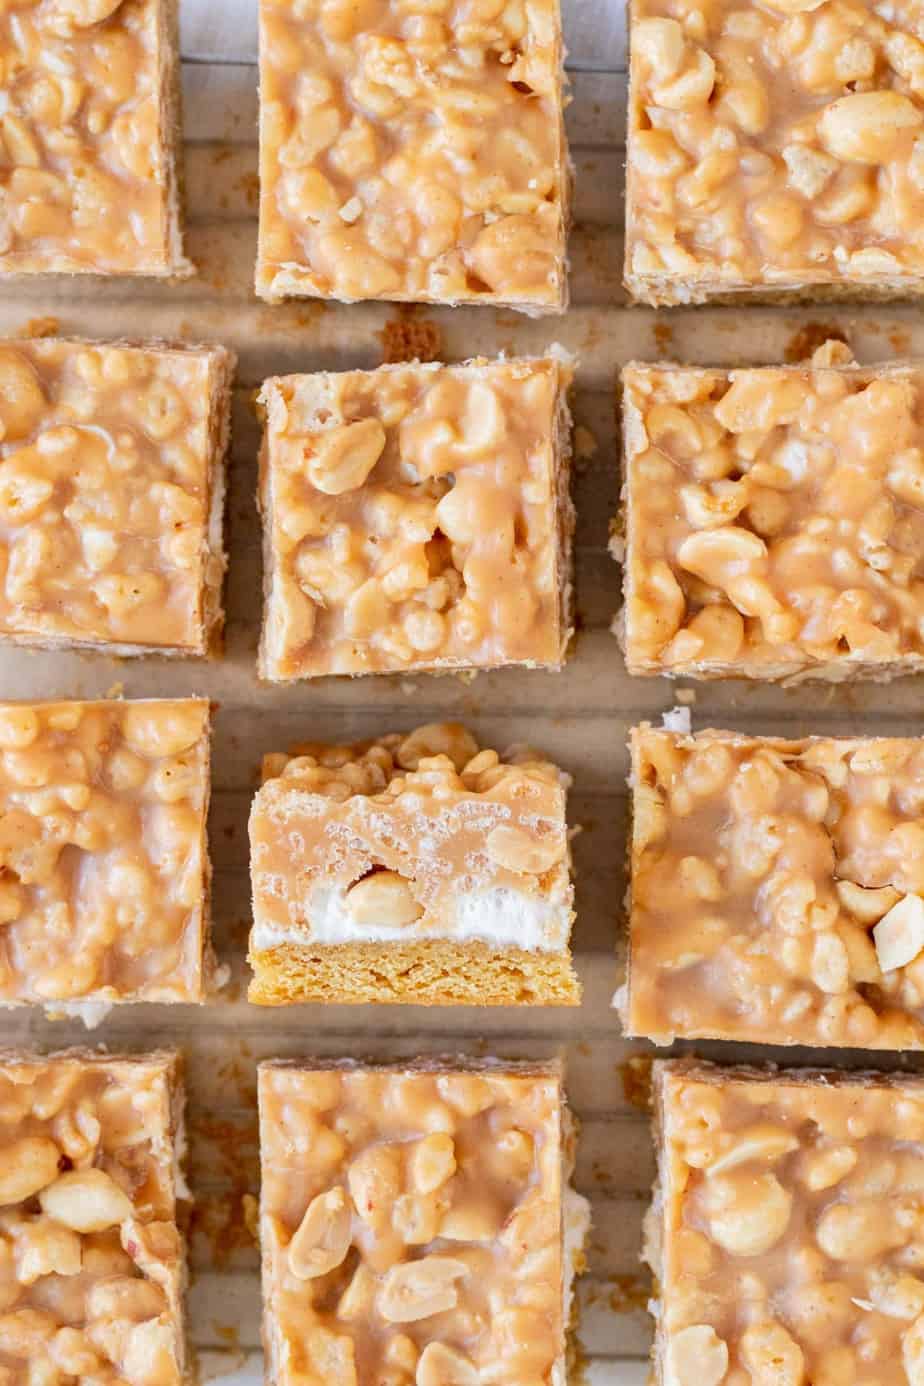
My cousins and I would fight over who got to them first (and last!) and a batch would be gone minutes after it was brought out. These bars are the perfect textural and taste experience. A chewy brown sugar crust on the bottom, melted gooey marshmallows sandwiched in the middle and a salty and sweet peanut butter topping made crunchy with rice krispies and peanuts.
Why are peanut squares perfect for an outdoor picnic?
These bars couldn't be better for your next picnic dessert. You can keep them cool in a cooler but don't fret as they won't get too messy if you leave them out for a bit in warmer weather as there's no chocolate that will melt all over when the temperature rises.
These can be pre-cut at home and then transported in the same pan they are made in making them a super easy handheld treat.
How to make the brown sugar crust
This is a thin and chewy crust with a delicious flavor from the brown sugar.
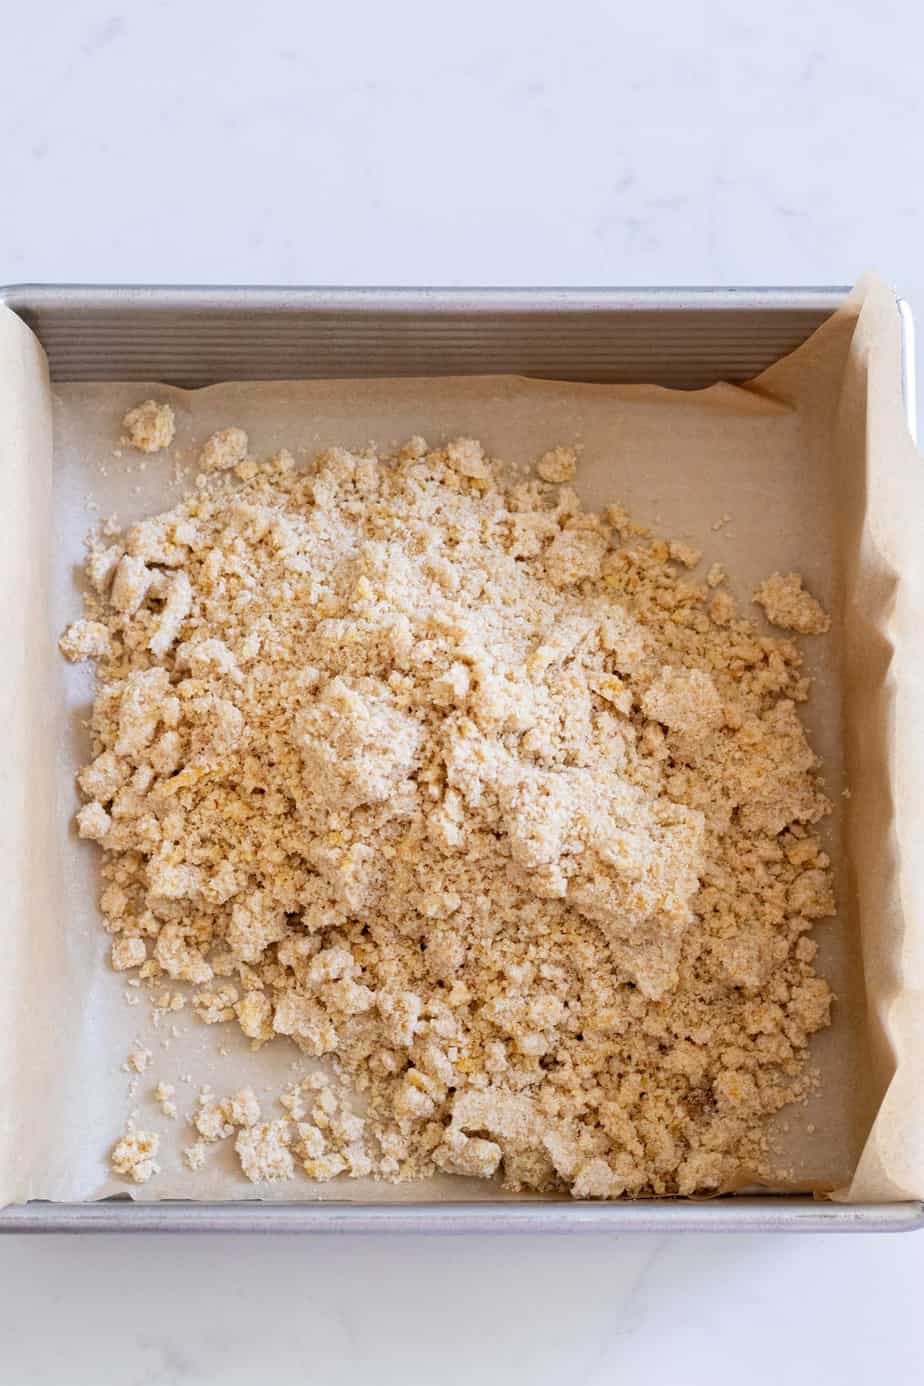
To make the crust, simply combine the flour, brown sugar, baking powder and soda and salt in a medium bowl. Work in the softened butter until it's well mixed and then add the egg yolks and vanilla. The crust mixture will be very crumbly but this is exactly how it's supposed to be. See the pictures below for the texture it should be.
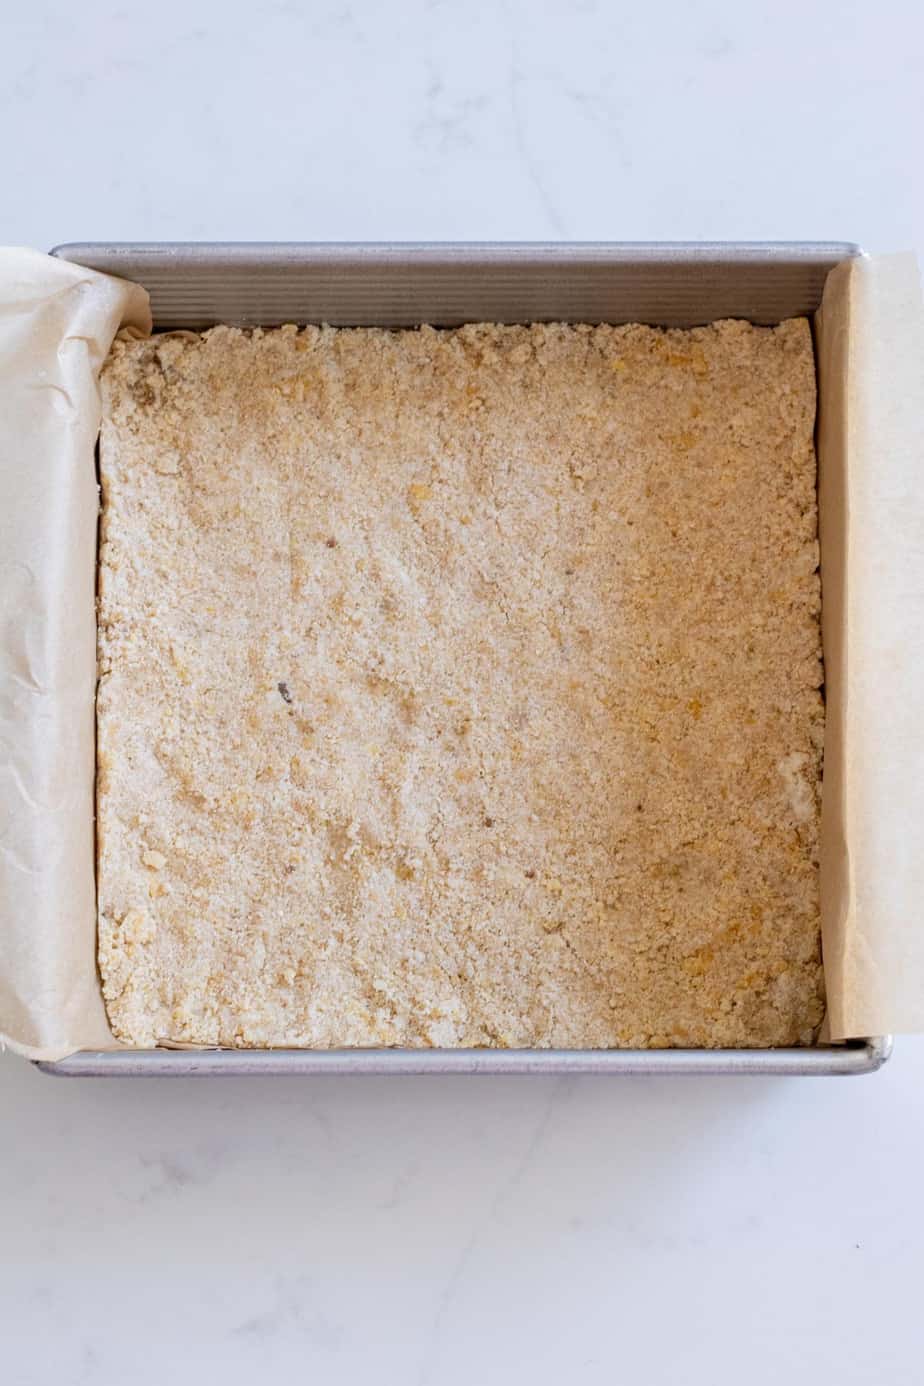
Press the crust into a 9 x 9 baking pan that has been lined with parchment paper with an overhang on two sides. Use a glass or a measuring cup to press the crumbs tightly into the pan forming the crust.
The crust gets baked for about 12-13 minutes in a 350 degree oven.
Tips for making the toppings
The marshmallow layer is super simple because it's only marshmallows! Here are a few tips to easily make the marshmallow and salted peanut components of these salted peanut bars.
- Pre-measure your ingredients: Have your marshmallows measured out as well as the salted peanuts and rice krispies. This will make it easy to add the ingredients quickly and at the right time.
- Work quickly! When putting the marshmallows on the crust base, make sure to do it as soon as the crust comes out of the oven. This will help them puff up evenly and not take too long in the oven causing them to turn brown. You'll also want to work quickly when adding the peanuts and rice krispies to the melted butter/peanut butter mixture. Cooking it too long or waiting too long after stirring in the remaining ingredients can cause the topping to get too hard to spread evenly over the marshmallows.
- Chill: As tempting as it is to eat these right away, you'll want to let them cool in the refrigerator for at least 45 minutes before cutting them.
How to store the bars
Use the parchment paper overhang to pull the bars out of the pan. Cut them into squares and then lift the bars back into the pan using the parchment paper again. Cover the pan with foil and then they can be transported in the pan.
Ideally keep the bars in the refrigerator or a cooler until you are ready to serve them.
If you have leftovers, just keep foil covering the pan and they will last for 4-5 days refrigerated. You can also move the bars to a ziptop bag in a single layer or an airtight container and store them that way.
Can they be frozen?
Yes! These salted peanut bars keep really well in the freezer. Store them in an airtight container or in a ziptop bag in a single layer or seperated with wax paper. They will keep in the freezer for one to two months if tightly covered.
Make sure you remove them from the freezer for 20-30 minutes prior to serving so they can soften otherwise you'll break a tooth!
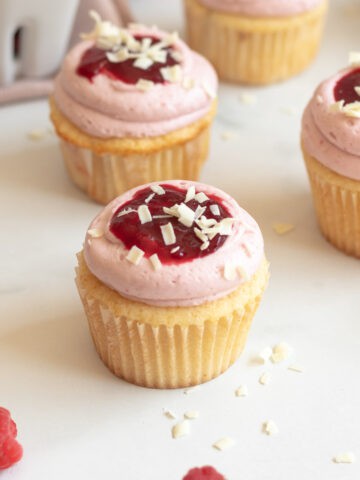
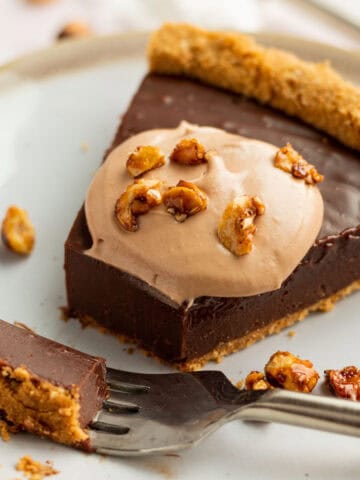
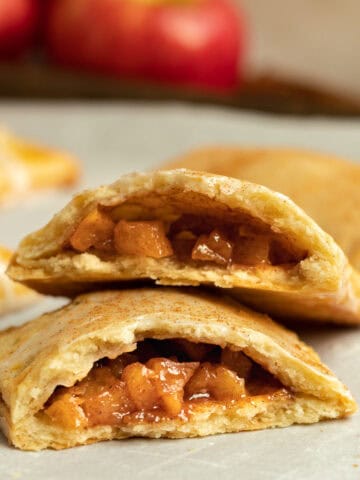
For other picnic-friendly desserts, check out:
Tag me on Instagram @themarblekitchenblog if you make this and leave a star rating and comment below! Thank you and enjoy!
Salted Peanut Bars
Ingredients
Crust
- ¾ cup flour
- ⅓ cup brown sugar packed
- ¼ teaspoon baking powder
- ⅛ teaspoon baking soda
- ½ teaspoon salt
- 4 tablespoon unsalted butter softened
- 1 teaspoon vanilla
- 1 egg yolk
Filling
- 2 cups mini marshmallows
Topping
- ⅓ cup corn syrup
- 2 tablespoon unsalted butter
- 1 teaspoon vanilla
- 1 cup peanut butter chips
- 1 cup salted peanuts
- 1 cup rice krispies
Instructions
Crust
- Preheat the oven to 350 degrees.
- Prepare a 9 x 9 inch baking pan by lining it with parchment paper leaving an overhang on two sides.
- Combine flour, brown sugar, baking powder, baking soda, and salt in a medium bowl.
- Add softened butter to the mixture and use your hands to mix in into the flour mixture.
- Add egg yolk and vanilla and mix until evenly combined. The mixture will be very crumbly.
- Press into a 9 x 9 pan using a cup to press it tightly into the pan.
- Bake for about 12-13 minutes until golden brown.
- Remove the crust from the oven and immediately add the marshmallows to the crust, distributing them evenly.
- Return to the oven for 2 minutes until the marshmallows start to puff up. Remove from the oven and set aside while you make the topping.
Topping
- In a medium saucepan, over medium heat, combine corn syrup, butter, peanut butter chips and vanilla. Stir until just melted.
- Add the peanuts and rice krispies and quickly stir together until combined.
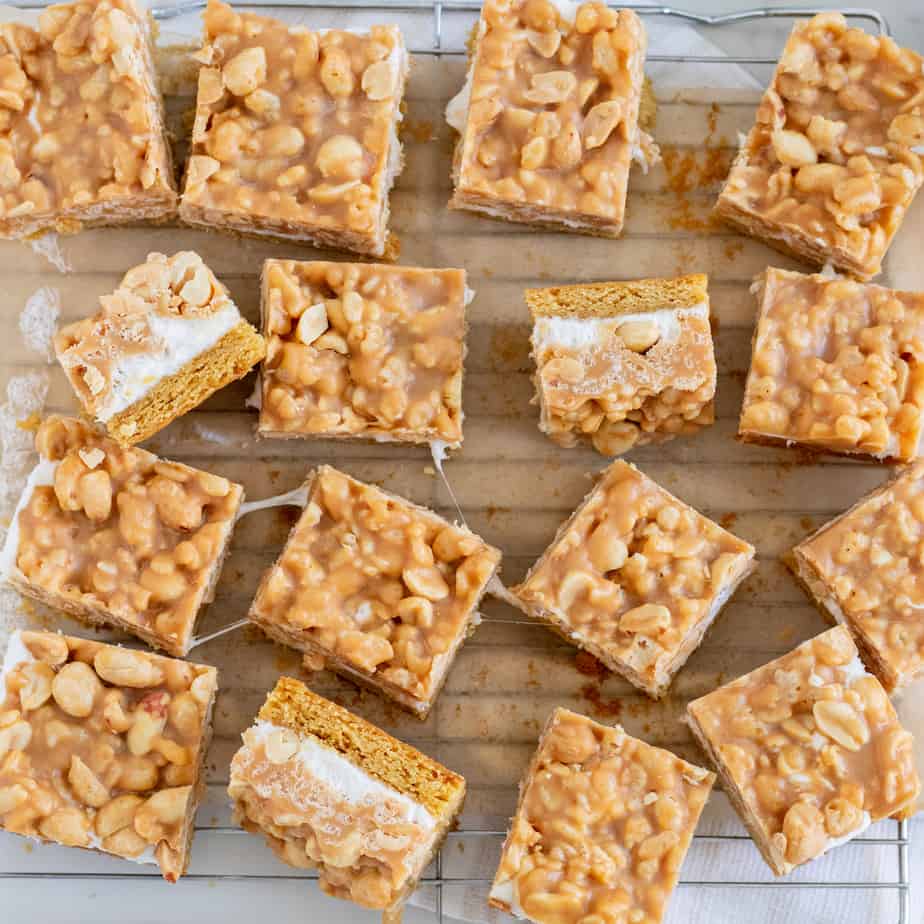
- Using 2 spoons, dollop the peanut topping over the top of the marshmallows. Gently spread the topping to completely cover the marshmallows.
- Cool in the refrigerator for at least 45 minutes, covered. Once cool, cut into squares with a sharp knife.
Notes
- Store in the refrigerator/cooler until ready to serve.
- Can be frozen for up to 2 months in an airtight container.
Nutrition
Alice says
Step 5 of the crust directions mentions milk, but I don't see milk on the ingredient list. Amount?
Thanks!
Tara Kringlen says
Hi Alice,
That is a typo and is supposed to say "mix" not "milk"! It's corrected now so thanks for pointing that out 🙂