
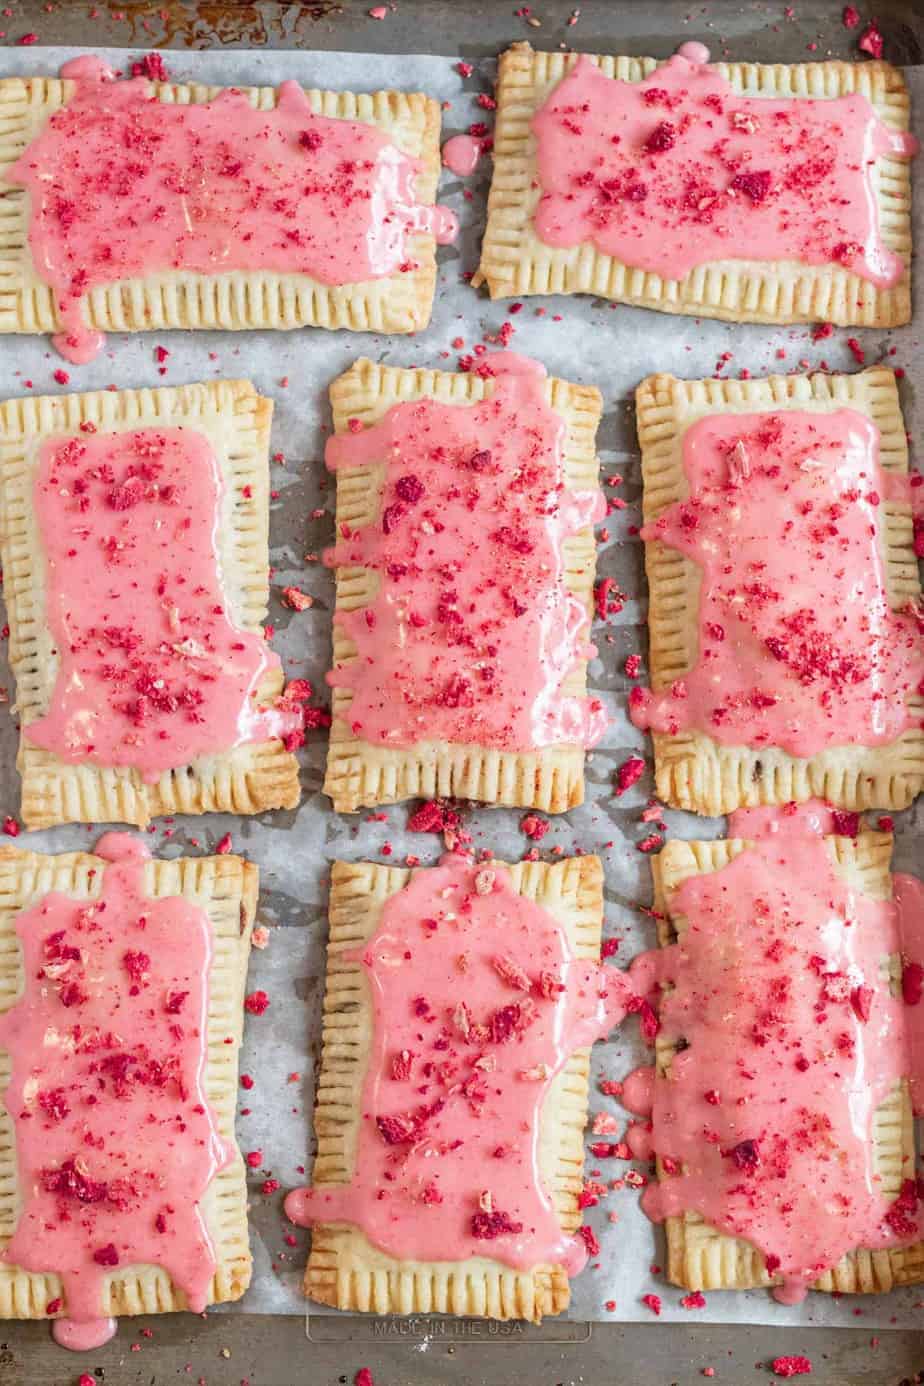
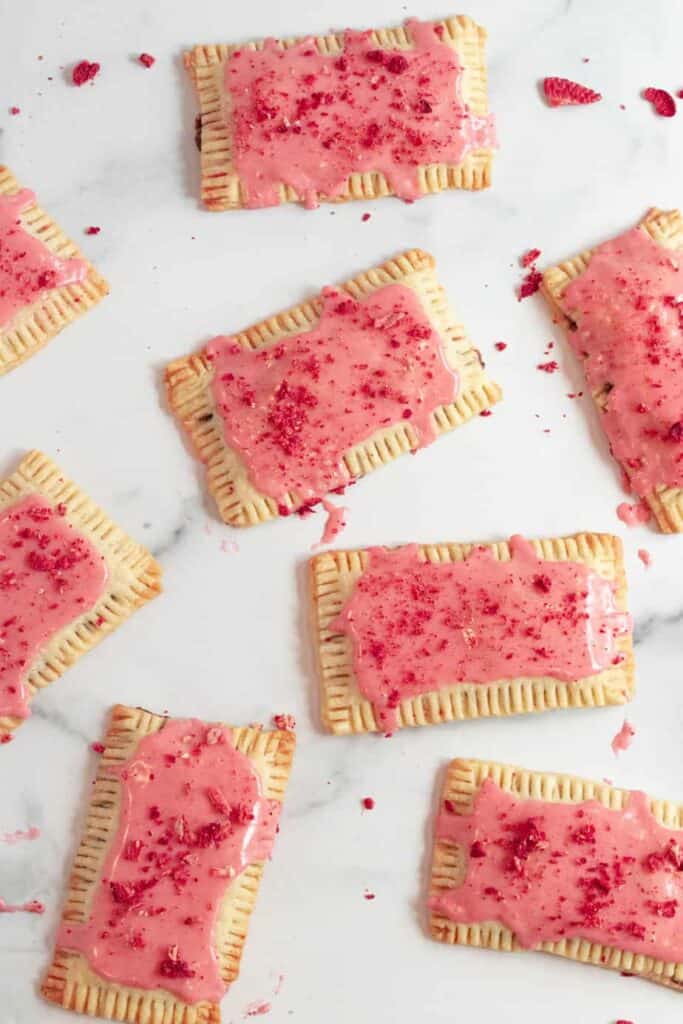
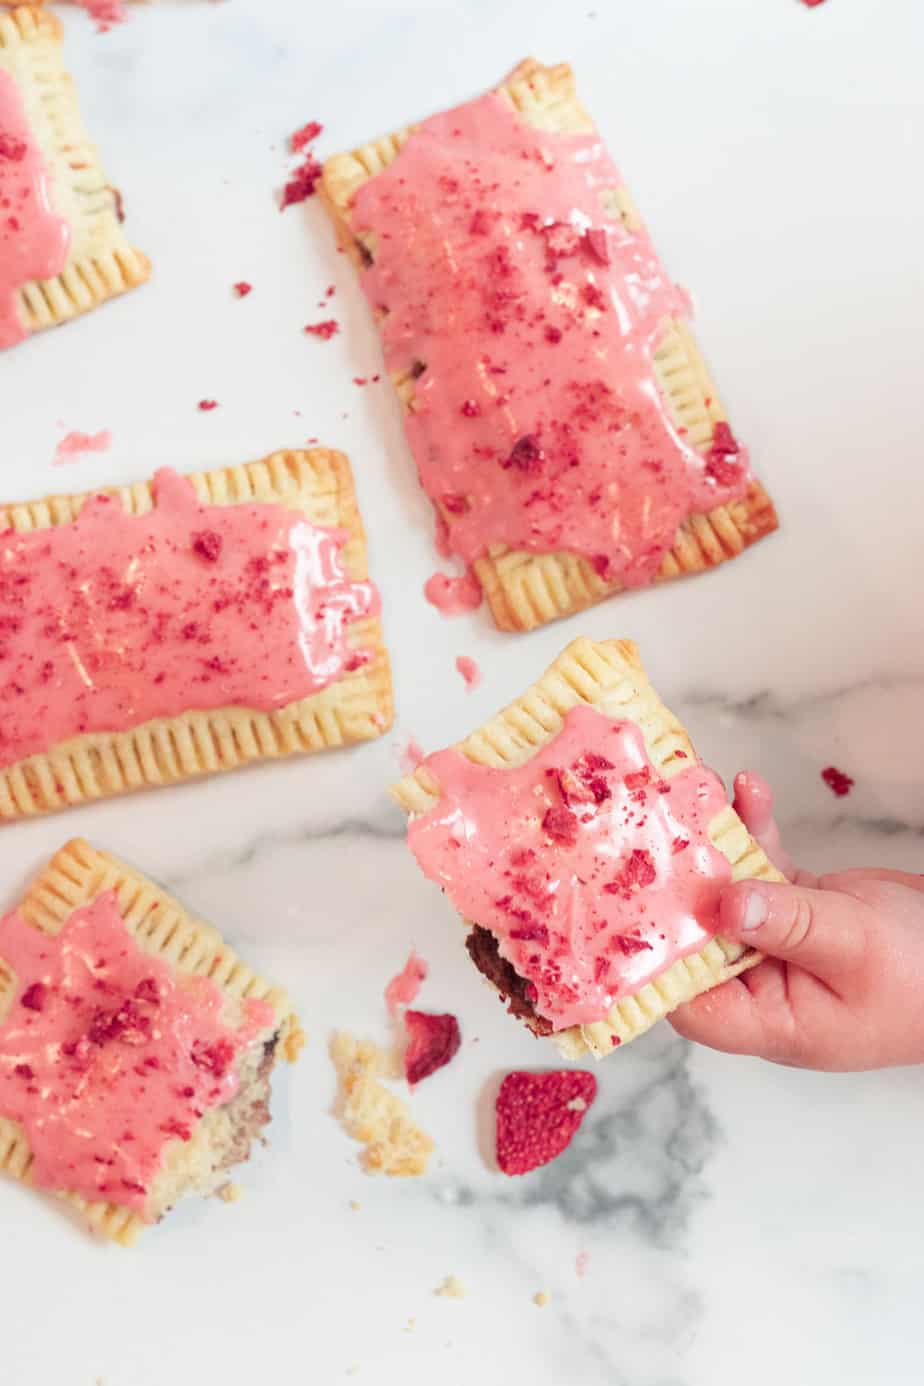
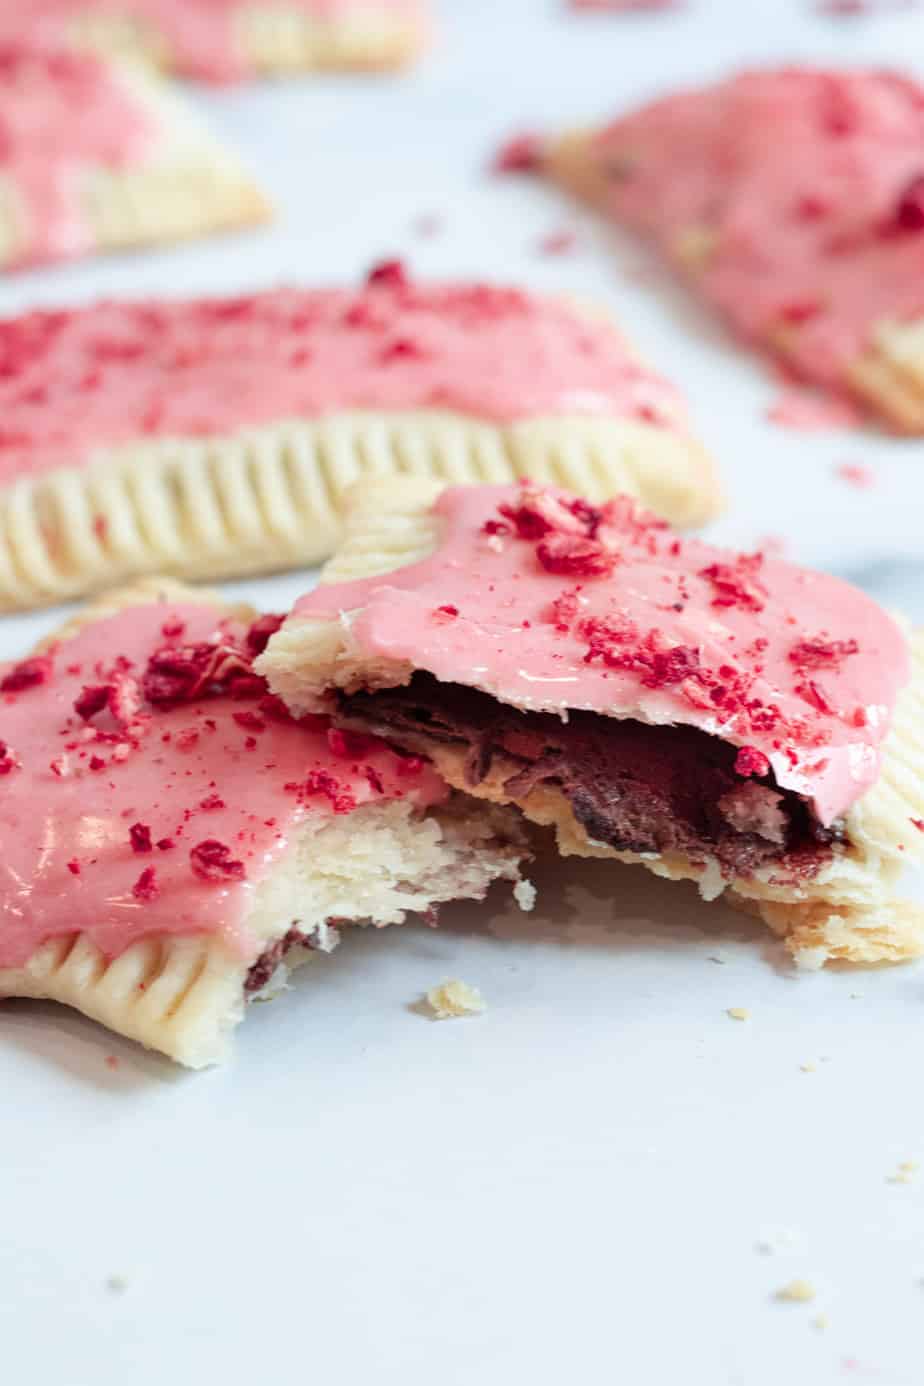
Nostalgia runs deep with these chocolate pop tarts! Creamy nutella is sandwiched between a homemade flaky pastry crust. The pop tarts are glazed with a sweet strawberry icing and then decorated with crushed freeze dried strawberries for a pretty presentation.
Why not indulge in chocolate and sugar for breakfast in 2020! We all have to live a little, right?! Well these homemade pop tarts stuffed with nutella should fit the bill.
I honestly haven't had a pop tart since I was in elementary school but the prospect of making my own intrigued me. And again, it's 2020, a year that will be infamous, so I figured why not have some fun with an old favorite.
These chocolate pop tarts are not too labor-intensive. Nutella is used for the chocolate filling saving time to make a homemade pastry crust. An easy strawberry flavored glaze is the proverbial icing on top and makes these beauts stand out. Freeze-dried strawberries crushed on top lends a pop of color and some more concentrated strawberry flavor punches.
While not as easy as opening a package of pop tarts, these are far tastier with better ingredients.
Making the pastry for pop tarts
This is a simple pastry crust recipe and is even easier if you have a food processor. Basically all the dry crust ingredients get pulsed in a food processor to combine. Cold butter then gets pulsed in until the mixture is crumbly and the flour-coated butter is about the size of peas.
Ice cold water is added until the dough begins to come together into a ball. I prefer to use a pyrex type liquid measuring cup for my ice water. I measure out the 6 tablespoons of water into the cup and then add the ice and stir it around. Then you'll slowly pour the water through the tube of the food processor, keeping the ice in the measuring cup.
Depending on how you measured your flour, you may need to add additional tablespoons of water until your dough comes together. Do this just by adding one tablespoon at a time so you don't get too wet of a dough.
Once the dough begins to form into a ball, stop the processor and dump the dough onto a lightly floured surface. Bring the dough ball into 2 equal round, flat discs, and wrap each with plastic wrap.
Let it chill in the fridge for about 30 minutes before rolling it out. If you let it chill longer in the fridge, you will need to let it rest for a few minutes before rolling it out.
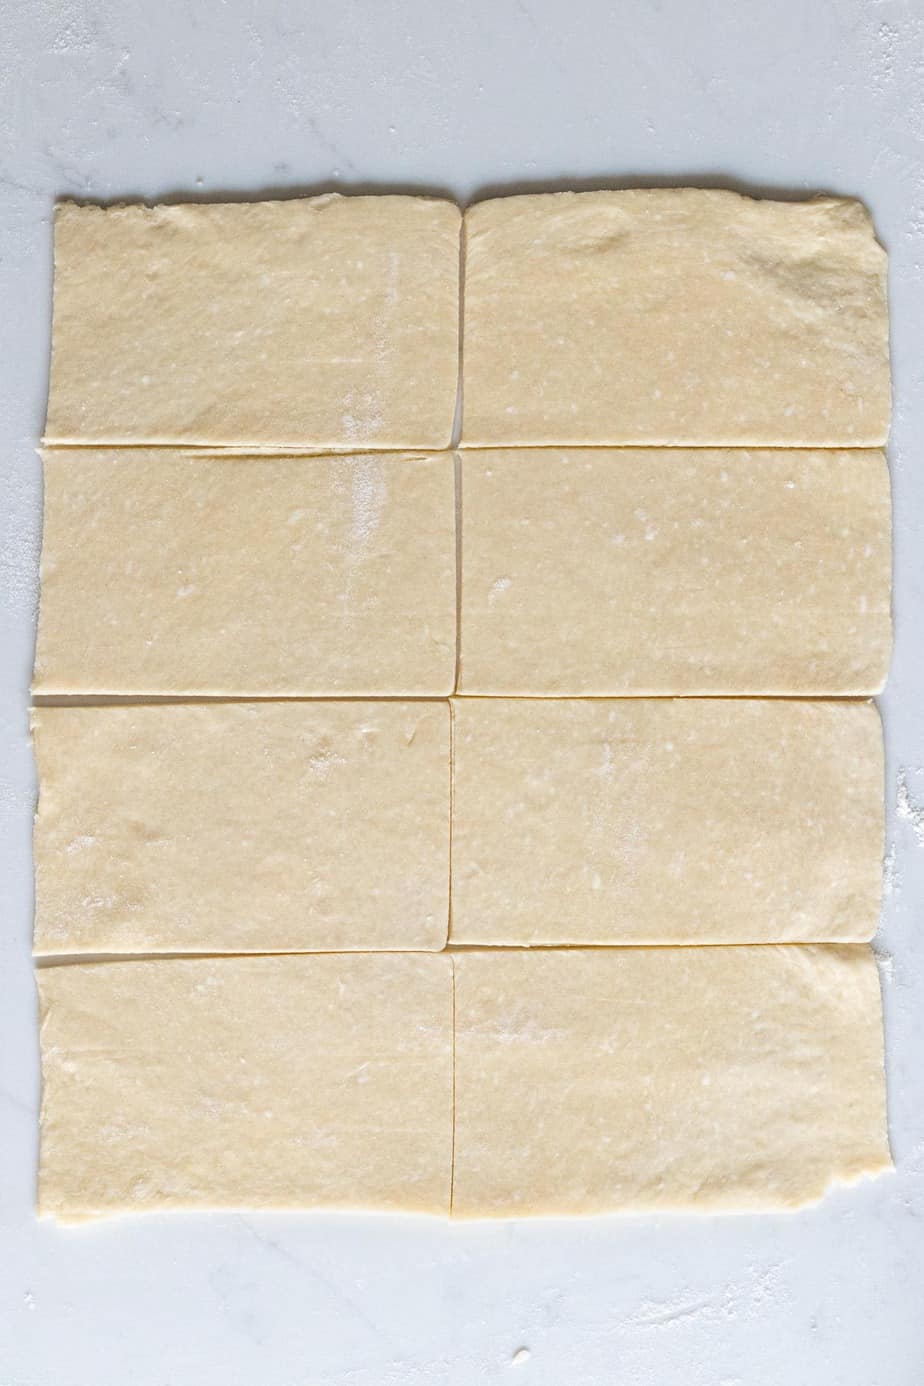
Roll out one disc to a rough rectangle about ⅛ inch thick and 13 by 11 inches. Then trim the edges down about an inch on each side to get smooth, straight edges. You'll end up with a 12 x 10 rectangle.
From this rectangle, you will cut eight 3 by 5 inch smaller rectangles for the bottom of the pop tarts. Make one cut down the middle of the dough lengthwise and then 4 cuts across the dough horizontally to make 8 rectangles.
A pizza cutter makes it easy to get straight, smooth cuts. Place the rectangles on the parchment-lined baking sheet and then into the fridge while you roll and cut the other disc using the same method as above.
Assembling the pop tarts
To begin assembling the pop tarts, place 2 tablespoons of nutella on the center of each rectangle. I like to use a 2 tablespoon cookie scoop like this one to scoop the nutella easily. Spread the nutella over the rectangle to about ¼ inch of each edge.

Place another dough rectangle over the nutella filling and crimp the edges with a fork. Using the fork, poke a few holes in the top of the dough to allow steam to escape while it is baking. Pop the tray into the freezer for 20-30 minutes or refrigerator for 1 hour before baking.
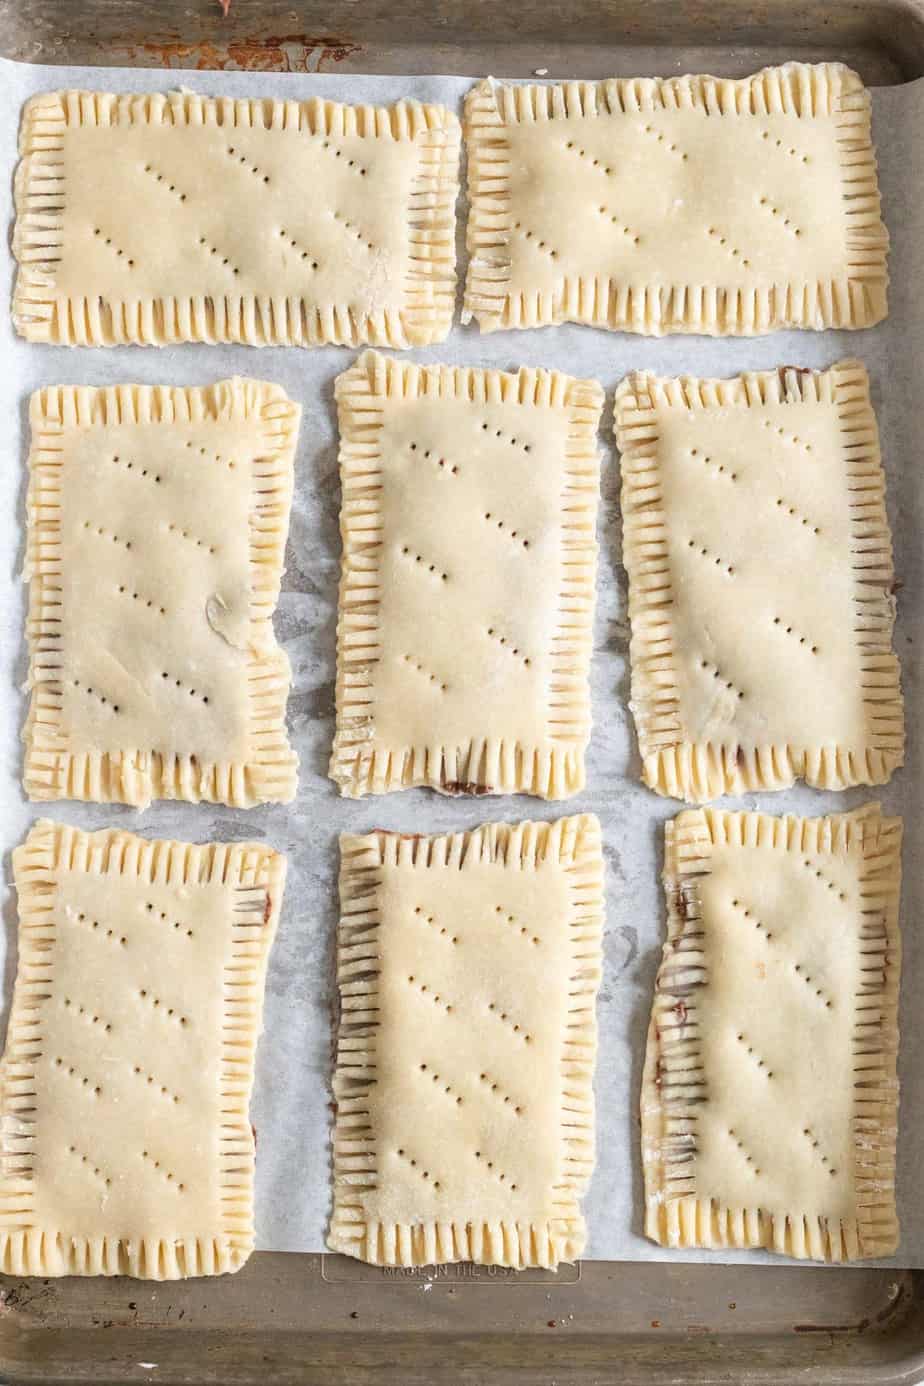
Bake the pop tarts until lightly golden brown, about 23-25 minutes. Cool them completely before glazing them.
Strawberry Glaze
For the glaze, simply puree strawberries and lemon juice in a blend or food processor until smooth. To get rid of the strawberry seeds, press the puree through a fine-mesh sieve and then discard the seeds. Combine the powdered sugar and the seedless puree in a small bowl and stir until combined.
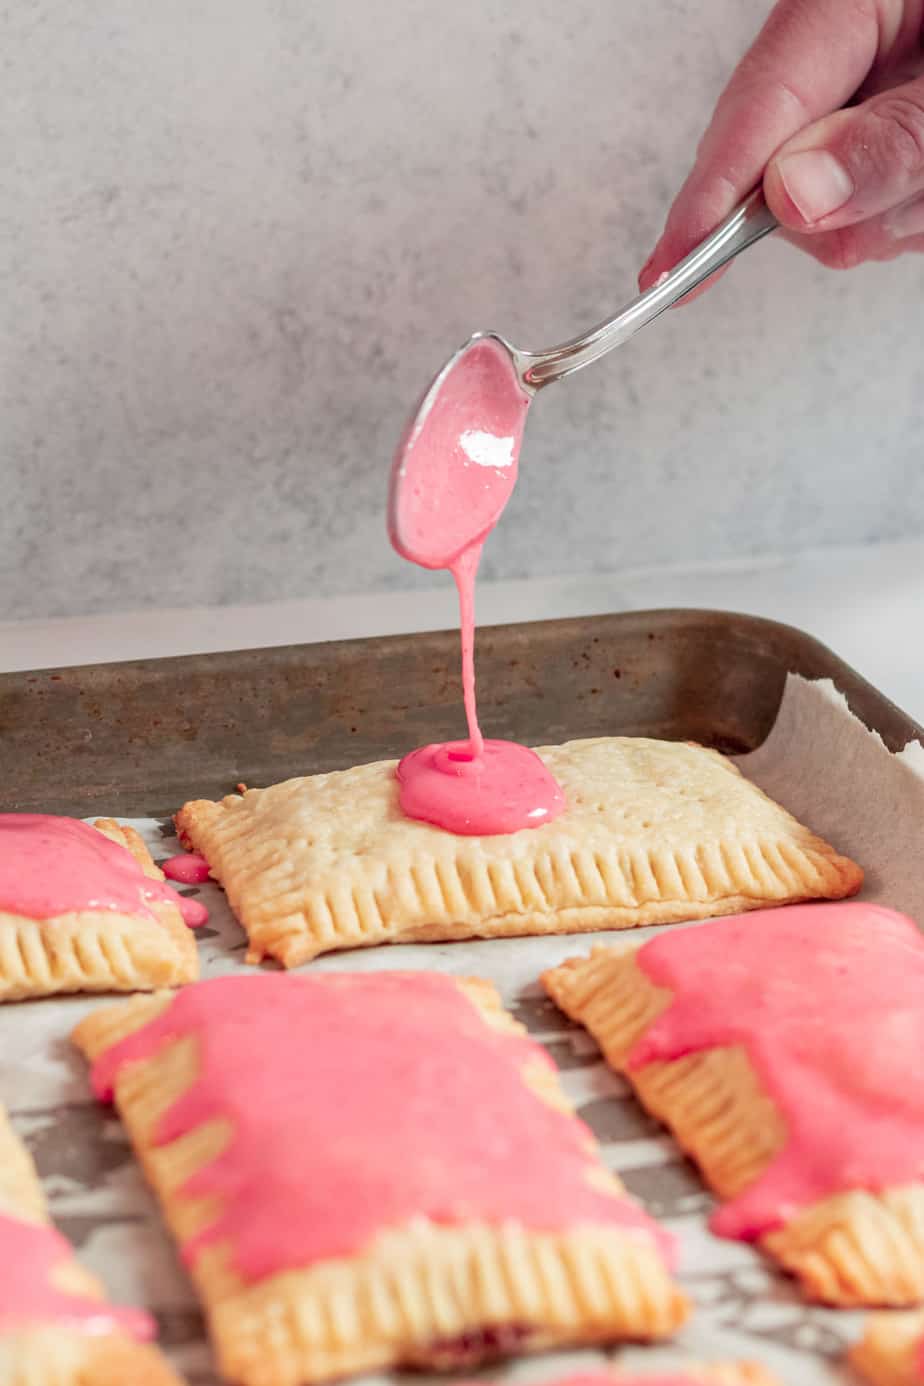
The consistency should be pourable from a spoon. If it is too thin, add more powdered sugar by the teaspoon. If it is too thick, add additional strawberry puree by the teaspoon to thin it out. Spoon the glaze onto each cooled pop tart and use the back of the spoon to spread it over the top. If you desire, crush some freeze-dried strawberries and sprinkle over the glaze while it is still wet.
Tips for making the dough
- Cold butter and water: cold ingredients are what makes dough flaky. Using cold butter will keep the butter from melting too quickly when baking. This is also why we use ice-cold water. It helps keep the whole mixture cold. Placing the cut pastry into the fridge while you are cutting the other rectangles keeps the butter from getting too warm.
- Not over-mixing: Keeping the butter in pea-sized crumbs helps it from incorporating into the crust too much. The little pieces of butter melt while baking and create steam in the pastry which helps keep the pastry flaky.
Freezing the unbaked chocolate pop tarts (or refrigerating) helps the butter harden, preventing the dough from spreading too much and it keeps the dough flaky.
No! While the food processor is an easy way to make the dough, you can also make it the old fashioned way by cutting in the butter using 2 forks or a pastry cutter. Do this until pea-sized crumbs form and then use your hands to incorporate the water into the dough to bring it together into a ball.
If you are considering investing in a food processor, I highly recommend this one. I've had mine for over 10 years and have old recently needed to replace part of the bowl.
Yes, you can freeze the pop tarts either before baking them or after. Before baking them, place the baking sheet in the freezer until they are mostly frozen and then placing them in a zip-top bag or other sealed container. Bake straight from the freezer, adding an additional 1-2 minutes to the baking time.
To freeze after they have baked, let them cool and then place in a sealed container or zip-top plastic bag between layers of parchment or wax paper. Thaw at room temperature.
You can heat an unglazed pop tart in a toaster but do not do so with a glazed pop tart unless you want a big mess! You can use a toaster oven to warm a pop tart but the glaze may melt some if left in too long.
The chocolate pop tarts will last 2-3 days covered in an airtight container on the counter.
This is a fun recipe to make with the kids or just a good afternoon project to work on yourself. I hope you enjoy these yummy chocolate pop tarts!
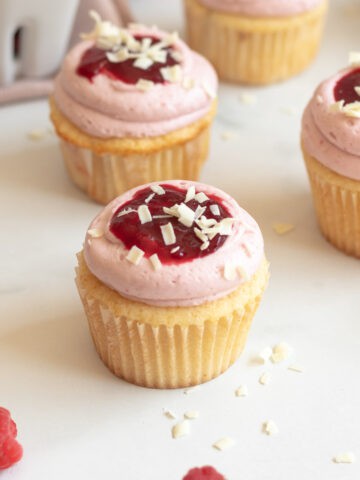
For more nutella recipes, check out:
Tag me on Instagram @themarblekitchenblog if you make this and leave a star rating and comment below! Thank you and enjoy!
Chocolate Pop Tarts with Strawberry Glaze
Ingredients
Dough
- 3 cups all purpose flour
- ¼ cup sugar
- 1 teaspoon salt
- 1 cup unsalted butter cold and cut into small pieces
- 6-8 tablespoon ice cold water
Filling
- 1 cup Nutella
Strawberry Glaze
- 1 ½ cups powdered sugar
- 1 cup strawberries sliced in half
- 1 tablespoon lemon juice
Decoration on Top
- ½ cup Freeze dried strawberries for decorating optional
Instructions
Dough
- In a food processor, combine flour, sugar and salt and pulse a few times to mix. Add the butter and pulse until the crumbs are about the size of a pea.
- With the processor running, add 6 tablespoon ice cold water and process until the dough starts to come together into a ball. Add an additional tablespoon of water at a time if dough isn't coming together.
- Dump the dough onto a floured surface and using your hands, bring together into a disc. Wrap the disc in plastic wrap and place in the fridge for 30 minutes to chill.
Assembly
- Prepare a sheet pan with parchment paper.
- Starting with one dough disc at a time, roll out the dough into a rough rectangle that is about ⅛ inch thick and measures about 13 x 11. Trim the edges of the rectangle down to a 12 x 10 rectangle.
- Cut 8 smaller rectangles out of the dough each 3 x 5 inches (see pictures in post).
- Place each rectangle on the prepared baking sheet and place sheet in the refrigerator.
- Repeat these steps with the other dough disc. Remove the baking sheet with the other rectangles from the refrigerator.
- Place 2 tablespoons of Nutella on the center of each rectangle on the baking sheet, spreading to about ¼ inch of each edge.
- Place another dough rectangle over the filling and crimp the edges with a fork. Using the fork, also poke a few holes in the top of dough to allow steam to escape while cooking.
- Place the baking sheet in the freezer for 20-30 minutes or the refrigerator for 1 hour prior to baking.
- Bake at 350 degrees for about 23-25 minutes until lightly golden brown.
- Remove the baking sheet from the oven and allow the pop tarts to cool completely before glazing them.
- Once cool, spoon about 1 tablespoon of glaze over each pop tart, using the back of the spoon to spread it as close to the edges as you wish.
- If decorating with the freeze-dried strawberries, place about ½ cup of freeze-dried strawberries in a mortar and pestle or a plastic bag and coarsely crush. Sprinkle each pop tart with some of the strawberry dust while the glaze is still wet.
Glaze
- Puree strawberries and lemon juice in a blender until smooth.
- Press through a fine mesh sieve placed over a small bowl to remove the seeds. Discard the seeds. You should have about ⅓ cup of strawberry puree.
- Combine the powdered sugar and the 3 tablespoons of the strawberry puree, whisking until mixed. The glaze should be a pourable consistency. If it is too thick, add additional strawberry puree by the teaspoon until pourable. If too thin, add addtional powedered sugar by the teaspoon until the desired consistency.
Leave a Reply